
Mamette Apple Cake: Just the name conjures images of cozy kitchens, the comforting aroma of cinnamon, and the sweet anticipation of a warm, homemade treat. Have you ever tasted a cake that felt like a hug? That’s precisely what this recipe delivers. This isn’t just any apple cake; it’s a slice of French history, a taste of tradition passed down through generations.
Originating from the heart of France, Mamette Apple Cake, often referred to as “Gâteau aux Pommes de Mamette,” is a testament to simple ingredients transformed into something extraordinary. “Mamette” is a term of endearment for grandmother, and this cake embodies the love and care that grandmothers pour into their baking. It’s a rustic, unfussy cake, relying on the natural sweetness of apples and a hint of spice to create a flavor profile that’s both comforting and sophisticated.
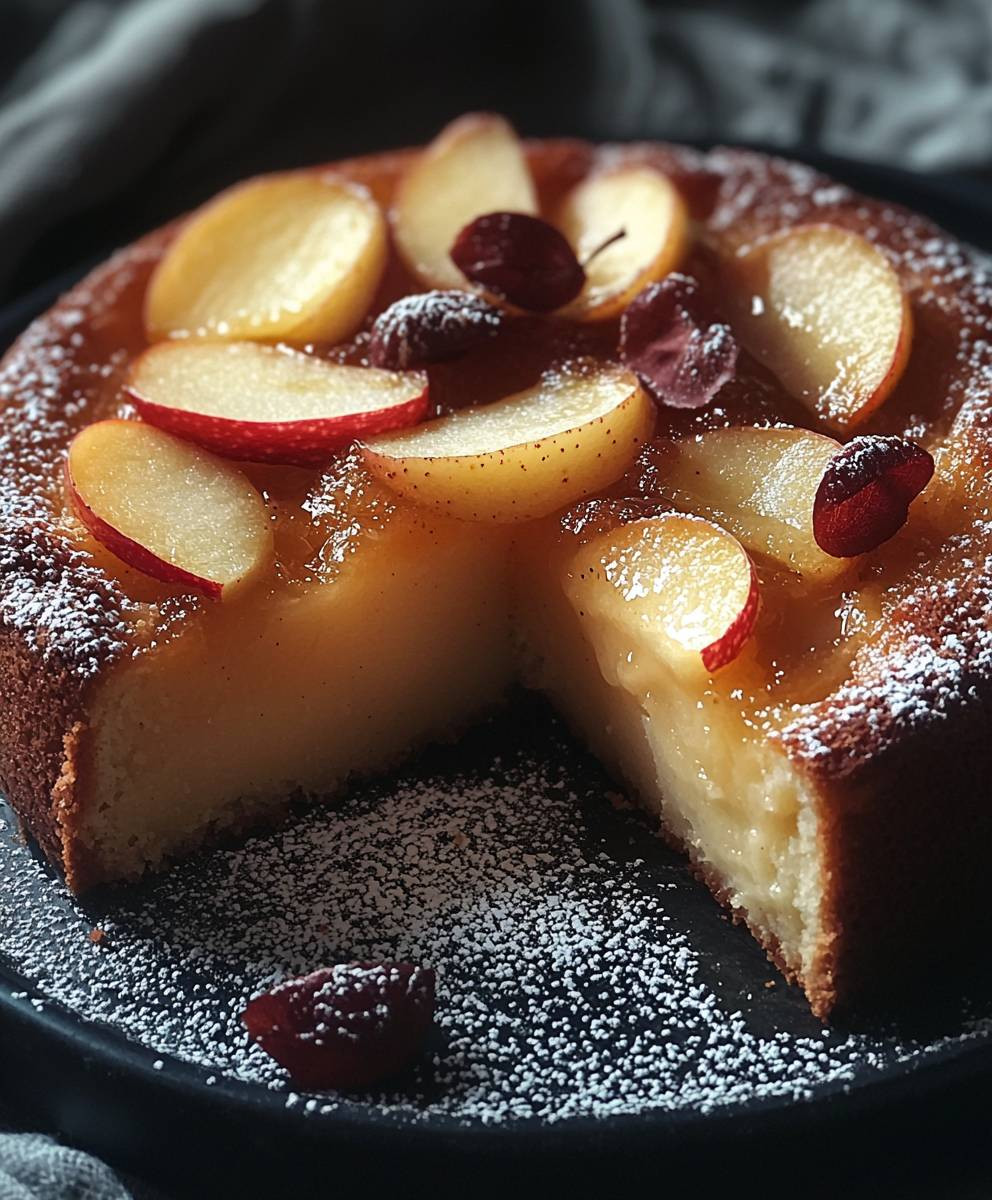
What makes this cake so beloved? It’s the perfect balance of textures a moist, tender crumb studded with soft, caramelized apples. The subtle warmth of cinnamon and nutmeg complements the tartness of the apples beautifully. Plus, it’s incredibly easy to make! You don’t need to be a seasoned baker to whip up this delightful dessert. Whether you’re enjoying it with a cup of coffee on a chilly afternoon or serving it as a show-stopping finale to a dinner party, Mamette Apple Cake is guaranteed to be a crowd-pleaser. Let’s get baking!

Ingredients:
- For the Cake:
- 2 large eggs
- 1 cup granulated sugar
- 1/2 cup (1 stick) unsalted butter, softened
- 1 teaspoon vanilla extract
- 1 1/2 cups all-purpose flour
- 1 1/2 teaspoons baking powder
- 1/4 teaspoon salt
- 1/2 cup milk
- 3 medium apples (such as Honeycrisp, Gala, or Fuji), peeled, cored, and sliced
- For the Optional Topping:
- 2 tablespoons granulated sugar
- 1/2 teaspoon ground cinnamon
Preparing the Batter
- First, let’s get started by preheating your oven to 350°F (175°C). While the oven is heating, grease and flour a 9-inch round cake pan. I like to use a springform pan for easy removal, but a regular cake pan works just fine too. Just make sure to grease it really well to prevent sticking! You can also line the bottom with parchment paper for extra insurance.
- In a large mixing bowl, cream together the softened butter and sugar until light and fluffy. This usually takes about 3-5 minutes with an electric mixer. Don’t rush this step! A well-creamed butter and sugar mixture is key to a tender cake. You want it to be pale and almost doubled in volume.
- Beat in the eggs one at a time, making sure each egg is fully incorporated before adding the next. If the mixture looks a little curdled after adding the eggs, don’t worry! It will come together when you add the dry ingredients.
- Stir in the vanilla extract. I love using a good quality vanilla extract, as it really enhances the flavor of the cake. You can also use vanilla bean paste if you have it on hand.
- In a separate bowl, whisk together the flour, baking powder, and salt. Whisking ensures that the baking powder and salt are evenly distributed throughout the flour, which is important for a consistent rise and flavor.
- Gradually add the dry ingredients to the wet ingredients, alternating with the milk, beginning and ending with the dry ingredients. Add about 1/3 of the dry ingredients, then 1/2 of the milk, then another 1/3 of the dry ingredients, then the remaining milk, and finally the last 1/3 of the dry ingredients. Mix until just combined. Be careful not to overmix the batter, as this can result in a tough cake. A few streaks of flour are okay.
Arranging the Apples and Baking
- Pour the batter into the prepared cake pan and spread it evenly.
- Arrange the apple slices on top of the batter in a decorative pattern. You can create concentric circles, overlapping the slices slightly. Or, you can simply scatter them randomly over the surface. Get creative! The more apples you use, the more flavorful and moist the cake will be.
- If you’re using the optional topping, in a small bowl, combine the sugar and cinnamon. Sprinkle the mixture evenly over the apples. This will create a lovely caramelized crust on top of the cake.
- Bake for 45-55 minutes, or until a wooden skewer inserted into the center comes out clean. The baking time may vary depending on your oven, so start checking for doneness around 45 minutes. If the top of the cake is browning too quickly, you can tent it with aluminum foil.
- Let the cake cool in the pan for 10-15 minutes before inverting it onto a wire rack to cool completely. If you used a springform pan, you can simply release the sides and lift the cake off the bottom.
Serving and Storage
- Once the cake is completely cool, you can slice and serve it. This cake is delicious on its own, but it’s also wonderful with a dollop of whipped cream, a scoop of vanilla ice cream, or a drizzle of caramel sauce.
- Store any leftover cake in an airtight container at room temperature for up to 3 days, or in the refrigerator for up to 5 days. You can also freeze the cake for longer storage. Wrap it tightly in plastic wrap and then in aluminum foil, and it will keep in the freezer for up to 2 months. Thaw it overnight in the refrigerator before serving.
Tips for the Best Apple Cake:
- Use good quality ingredients. The better the ingredients, the better the cake will taste. Use fresh, ripe apples, good quality butter, and pure vanilla extract.
- Don’t overmix the batter. Overmixing can develop the gluten in the flour, resulting in a tough cake. Mix until just combined.
- Don’t overbake the cake. Overbaking can dry out the cake. Start checking for doneness around 45 minutes, and bake until a wooden skewer inserted into the center comes out clean.
- Let the cake cool completely before slicing. This will prevent it from crumbling.
- Experiment with different types of apples. Honeycrisp, Gala, and Fuji apples are all good choices, but you can also try other varieties, such as Granny Smith or Braeburn.
- Add nuts or dried fruit to the batter. Chopped walnuts, pecans, or raisins would all be delicious additions.
- Spice it up! Add a pinch of nutmeg, allspice, or cloves to the batter for a warmer, more festive flavor.
- Make it gluten-free. Substitute the all-purpose flour with a gluten-free all-purpose flour blend. Be sure to check that your baking powder is also gluten-free.
Variations:
- Caramel Apple Cake: Drizzle caramel sauce over the apples before baking.
- Apple Crumble Cake: Top the cake with a crumble topping made from flour, butter, sugar, and oats.
- Apple Spice Cake: Add a teaspoon of apple pie spice to the batter.
- Apple Walnut Cake: Add 1/2 cup of chopped walnuts to the batter.
Conclusion:
This Mamette Apple Cake isn’t just another dessert; it’s a warm hug on a plate, a slice of pure comfort that will transport you straight to a cozy French countryside kitchen. The simplicity of the ingredients belies the incredible depth of flavor the tartness of the apples perfectly balanced by the sweet, buttery cake. It’s truly a must-try for anyone who appreciates classic, heartwarming baking. Why is this cake a must-try? Because it’s incredibly easy to make, even for novice bakers. The recipe is straightforward, the ingredients are readily available, and the results are consistently delicious. It’s the kind of cake you can whip up on a whim for a last-minute gathering or a quiet evening at home. Plus, the aroma that fills your kitchen while it’s baking is simply divine! It’s a guaranteed crowd-pleaser, and I promise you’ll be asked for the recipe again and again. But the best part? It’s incredibly versatile!Serving Suggestions and Variations:
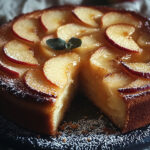
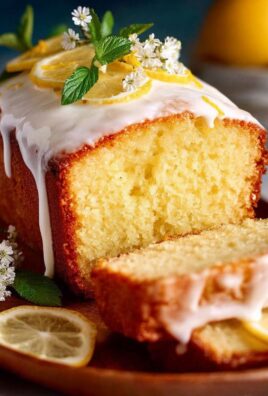
* Classic Presentation: Serve it warm with a scoop of vanilla ice cream or a dollop of freshly whipped cream. A dusting of powdered sugar adds a touch of elegance. * Autumn Spice: For a fall-inspired twist, add a teaspoon of cinnamon and a pinch of nutmeg to the batter. You can also use a mix of different apple varieties for a more complex flavor profile. * Nutty Delight: Sprinkle chopped walnuts or pecans over the top of the cake before baking for added texture and flavor. * Caramel Drizzle: A drizzle of homemade or store-bought caramel sauce takes this cake to the next level of indulgence. * Breakfast Treat: Enjoy a slice of cold Mamette Apple Cake with your morning coffee or tea. It’s surprisingly delicious! * Gluten-Free Option: Substitute the all-purpose flour with a gluten-free blend for a gluten-free version of this delightful cake. Just be sure to use a blend that’s designed for baking. * Pear Variation: If you’re not a fan of apples, you can easily substitute them with pears. The pears will create a slightly sweeter and more delicate flavor. * Lemon Zest: Add the zest of one lemon to the batter for a bright and citrusy note. It complements the apples beautifully. I truly believe that this Mamette Apple Cake will become a staple in your baking repertoire. It’s the perfect dessert for any occasion, and it’s guaranteed to bring a smile to your face. So, what are you waiting for? Preheat your oven, gather your ingredients, and get baking! I’m confident that you’ll love this recipe as much as I do. Once you’ve tried it, I’d absolutely love to hear about your experience. Did you make any variations? What did you think of the flavor? Share your photos and comments below! Let’s create a community of apple cake lovers! Happy baking! I can’t wait to see your creations. Don’t forget to tag me in your photos so I can see your beautiful cakes! I’m so excited for you to try this recipe! PrintMamette Apple Cake: The Ultimate Recipe and Baking Guide
A moist and tender apple cake, bursting with fresh apple flavor and a hint of vanilla. Perfect for a cozy dessert or afternoon treat.
- Prep Time: 20 minutes
- Cook Time: 45 minutes
- Total Time: 65 minutes
- Yield: 8–10 servings 1x
Ingredients
- 2 large eggs
- 1 cup granulated sugar
- 1/2 cup (1 stick) unsalted butter, softened
- 1 teaspoon vanilla extract
- 1 1/2 cups all-purpose flour
- 1 1/2 teaspoons baking powder
- 1/4 teaspoon salt
- 1/2 cup milk
- 3 medium apples (such as Honeycrisp, Gala, or Fuji), peeled, cored, and sliced
- 2 tablespoons granulated sugar
- 1/2 teaspoon ground cinnamon
Instructions
- Preheat oven to 350°F (175°C). Grease and flour a 9-inch round cake pan (springform recommended).
- In a large mixing bowl, cream together the softened butter and sugar until light and fluffy (3-5 minutes).
- Beat in the eggs one at a time, fully incorporating each before adding the next.
- Stir in the vanilla extract.
- In a separate bowl, whisk together the flour, baking powder, and salt.
- Gradually add the dry ingredients to the wet ingredients, alternating with the milk, beginning and ending with the dry ingredients. Mix until just combined (do not overmix).
- Pour the batter into the prepared cake pan and spread it evenly.
- Arrange the apple slices on top of the batter in a decorative pattern.
- If using the optional topping, combine the sugar and cinnamon in a small bowl and sprinkle evenly over the apples.
- Bake for 45-55 minutes, or until a wooden skewer inserted into the center comes out clean. If the top is browning too quickly, tent with aluminum foil.
- Let the cake cool in the pan for 10-15 minutes before inverting it onto a wire rack to cool completely.
- Slice and serve. Enjoy with whipped cream, ice cream, or caramel sauce.
Notes
- Use good quality ingredients for the best flavor.
- Don’t overmix the batter to avoid a tough cake.
- Don’t overbake the cake to prevent it from drying out.
- Let the cake cool completely before slicing to prevent crumbling.
- Experiment with different types of apples.
- Add nuts or dried fruit to the batter for extra flavor and texture.
- Spice it up with nutmeg, allspice, or cloves.
- Make it gluten-free by substituting all-purpose flour with a gluten-free blend.


Leave a Comment