
Dulce de Leche Condensed Milk: Prepare to unlock a world of creamy, caramel-infused delight! Have you ever dreamt of a dessert topping so rich and decadent, it elevates everything it touches? Well, dream no more! This simple yet transformative recipe will guide you through creating your own homemade dulce de leche, starting with humble condensed milk.
Dulce de leche, meaning “sweet of milk” in Spanish, boasts a history as rich and complex as its flavor. While its exact origins are debated, many believe it emerged in 19th-century Argentina, possibly as a happy accident when milk and sugar were left simmering on the stove for too long. Regardless of its precise birthplace, dulce de leche quickly became a beloved staple throughout Latin America and beyond, cherished for its versatility and comforting sweetness.
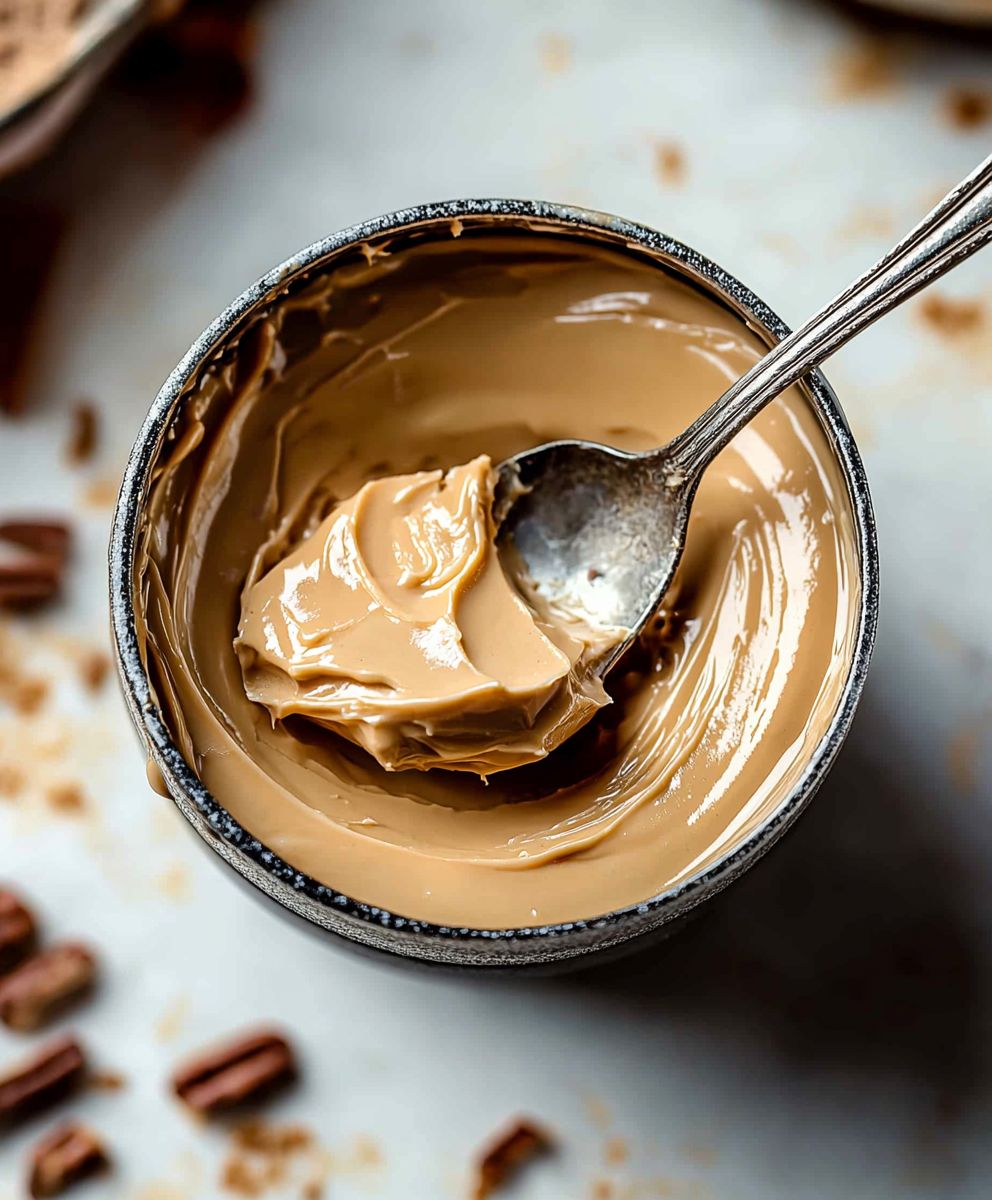
What makes dulce de leche condensed milk so irresistible? It’s the perfect balance of creamy texture and intense caramel flavor. The slow cooking process transforms the condensed milk, creating a luscious spread that’s equally delicious on toast, drizzled over ice cream, or used as a filling for cakes and pastries. Plus, it’s incredibly easy to make at home, requiring minimal ingredients and effort. Get ready to impress your friends and family with this surprisingly simple and utterly addictive treat!
Ingredients:
- 1 (13.5 ounce) can full-fat sweetened condensed milk
- Water (for the water bath)
Preparing the Dulce de Leche:
Okay, let’s get started! Making dulce de leche from sweetened condensed milk is surprisingly simple, but it does require a little patience. There are a few methods you can use, but I’m going to walk you through my favorite: the water bath method. This method is great because it’s relatively hands-off and results in a beautifully smooth and creamy dulce de leche.
- Prepare the Oven: Preheat your oven to 425°F (220°C). Make sure your oven rack is positioned in the center of the oven.
- Remove the Label: This is important! Peel off the paper label from the can of sweetened condensed milk. The label will just disintegrate in the oven and make a mess. Trust me, you don’t want that.
- Pour into a Baking Dish: Carefully pour the sweetened condensed milk into a small oven-safe baking dish or ramekin. I usually use a pie plate or a small casserole dish. The size doesn’t matter too much, as long as it’s oven-safe and can hold the contents of the can.
- Cover Tightly with Foil: This step is crucial to prevent a skin from forming on the surface of the dulce de leche. Tightly cover the baking dish with aluminum foil. Make sure the foil is crimped around the edges to create a good seal.
- Prepare the Water Bath: Now, we need to create a water bath. Place the foil-covered baking dish inside a larger baking pan. A roasting pan or a 9×13 inch baking pan works well.
- Add Hot Water: Carefully pour hot water into the larger baking pan, filling it until the water level reaches about halfway up the sides of the smaller baking dish. Be careful not to splash any water into the sweetened condensed milk!
- Bake: Carefully transfer the entire setup (the baking pan with the water bath and the baking dish with the sweetened condensed milk) to the preheated oven.
- Bake for 1.5 to 2 Hours: Bake for 1 hour and 30 minutes to 2 hours, or until the dulce de leche has reached your desired color and consistency. The longer it bakes, the darker and thicker it will become. I usually check it after 1 hour and 30 minutes and then every 15 minutes after that.
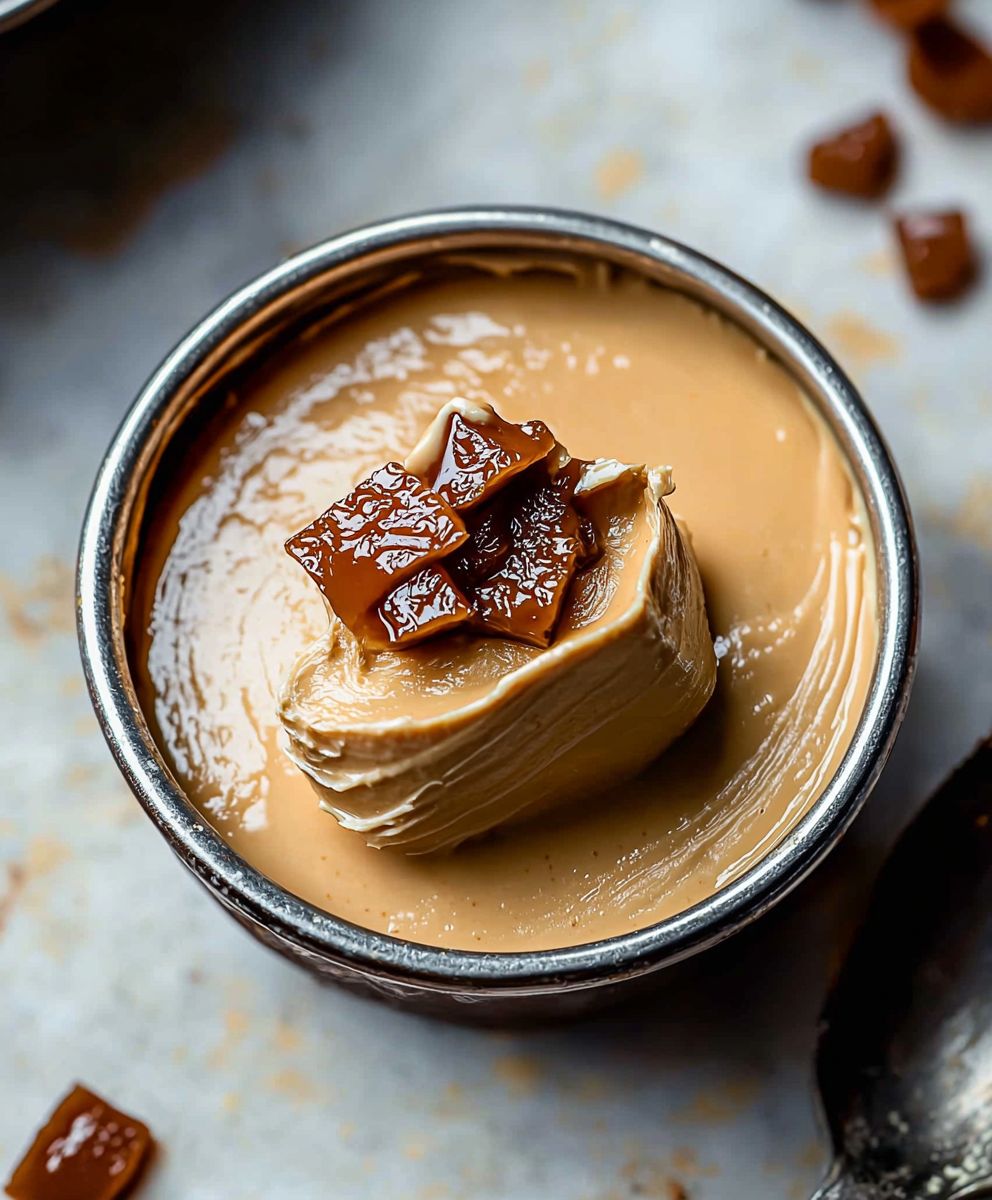
- Check for Doneness: To check for doneness, carefully remove the baking pan from the oven. Remove the foil from the smaller baking dish. The dulce de leche should be a rich caramel color. It will still be a bit loose, but it will thicken as it cools.
- Cool Completely: Remove the smaller baking dish from the water bath and let it cool completely at room temperature. As it cools, the dulce de leche will thicken considerably.
- Whisk and Store: Once the dulce de leche is completely cool, whisk it vigorously until it’s smooth and creamy. This will help to break up any lumps that may have formed during baking. Transfer the dulce de leche to an airtight container and store it in the refrigerator for up to 2 weeks.
Tips and Tricks for Perfect Dulce de Leche:
Here are a few extra tips to ensure your dulce de leche turns out perfectly every time:
- Use Full-Fat Sweetened Condensed Milk: This is important! Using low-fat or fat-free sweetened condensed milk will not produce the same rich and creamy results.
- Don’t Skip the Water Bath: The water bath is essential for even cooking and prevents the dulce de leche from scorching or developing a skin.
- Keep an Eye on the Water Level: During baking, check the water level in the water bath periodically. If it evaporates too much, add more hot water to maintain the water level halfway up the sides of the smaller baking dish.
- Adjust Baking Time to Your Preference: The baking time will determine the color and consistency of your dulce de leche. For a lighter, thinner dulce de leche, bake for a shorter time. For a darker, thicker dulce de leche, bake for a longer time.
- Be Patient: Don’t be tempted to rush the cooling process. The dulce de leche will thicken significantly as it cools, so it’s important to let it cool completely before whisking and storing.
- Add a Pinch of Salt: After whisking, you can add a pinch of salt to the dulce de leche to enhance the flavor. This is optional, but I find that it really brings out the caramel notes.
- Troubleshooting: If your dulce de leche is lumpy, don’t worry! Just whisk it vigorously until it’s smooth. If it’s too thick, you can add a tablespoon or two of milk or cream to thin it out.
Alternative Methods (Not Recommended for Beginners):
While the water bath method is my preferred method, there are a couple of other ways to make dulce de leche from sweetened condensed milk. However, I don’t recommend these methods for beginners, as they can be a bit more tricky and require more attention.
Stovetop Method:
This method involves simmering the can of sweetened condensed milk directly in a pot of water on the stovetop. It’s faster than the oven method, but it requires constant monitoring to prevent the can from exploding. I strongly advise against this method due to safety concerns.
Instant Pot Method:
This method is similar to the stovetop method, but it uses an Instant Pot to cook the can of sweetened condensed milk under pressure. While it’s faster than the oven method, it also carries the risk of the can exploding if not done correctly. Again, I advise against this method due to safety concerns.
Ways to Use Your Homemade Dulce de Leche:
Now that you have a batch of delicious homemade dulce de leche, what are you going to do with it? The possibilities are endless! Here are just a few ideas:
- Spread it on toast or crackers: This is a simple and classic way to enjoy dulce de leche.
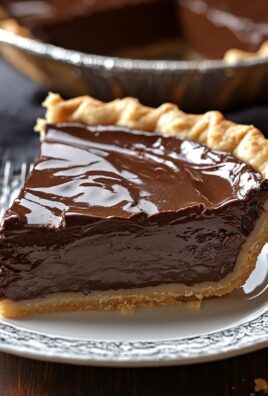
- Use it as a filling for cakes, cookies, or pastries: Dulce de leche makes a wonderful filling for all sorts of baked goods.
- Drizzle it over ice cream or yogurt: A spoonful of dulce de leche adds a touch of caramel sweetness to any dessert.
- Make alfajores: Alfajores are traditional South American sandwich cookies filled with dulce de leche.
- Add it to your coffee or hot chocolate: A spoonful of dulce de leche can transform your morning beverage into a decadent treat.
- Eat it straight from the spoon: Let’s be honest, this is probably what you’ll end up doing anyway!
I hope you enjoy making and eating your homemade dulce de leche! It’s a truly delicious and versatile treat that’s sure to become a favorite in your kitchen.
Conclusion:
And there you have it! This recipe for Dulce de Leche Condensed Milk is more than just a sweet treat; it’s a culinary adventure waiting to happen. I truly believe that once you taste the rich, caramel-like goodness of homemade dulce de leche, you’ll never go back to the store-bought version. The depth of flavor and the sheer satisfaction of creating something so delicious from scratch are simply unmatched. Why is this a must-try? Because it’s incredibly versatile, surprisingly easy, and delivers a taste that will transport you to dessert heaven. Forget complicated baking projects that require hours in the kitchen. This recipe uses just one ingredient and a little bit of patience, transforming humble condensed milk into a decadent delight. It’s a game-changer for anyone who loves caramel, enjoys experimenting in the kitchen, or simply wants to impress their friends and family with a homemade masterpiece. But the fun doesn’t stop there! The possibilities for using your freshly made dulce de leche are endless. Imagine swirling it into your morning coffee for a luxurious latte, drizzling it over vanilla ice cream for an instant upgrade, or using it as a filling for homemade alfajores. You could even spread it on toast for a truly indulgent breakfast. Here are a few serving suggestions and variations to get your creative juices flowing:Serving Suggestions:
- Classic: Simply enjoy it by the spoonful!
- Ice Cream Topping: Warm it slightly for a perfect drizzle.
- Baking Ingredient: Use it in cakes, cookies, and pies.
- Coffee Additive: Stir a spoonful into your coffee for a caramel latte.
- Fruit Dip: Serve it with sliced apples, bananas, or strawberries.
Variations:
- Salted Dulce de Leche: Add a pinch of sea salt after cooking for a sweet and salty twist.
- Spiced Dulce de Leche: Infuse the condensed milk with a cinnamon stick or vanilla bean during cooking.
- Chocolate Dulce de Leche: Swirl in melted dark chocolate after cooking for a decadent treat.
- Espresso Dulce de Leche: Add a shot of espresso after cooking for a coffee-flavored delight.
Dulce de Leche Condensed Milk: The Ultimate Guide to Making & Using It
Easy oven-baked Dulce de Leche using a water bath. Achieve creamy, rich caramel perfect for spreading, filling, or enjoying by the spoonful!
- Prep Time: 5 minutes
- Cook Time: 90 minutes
- Total Time: 3 hours
- Yield: Approximately 1 1/4 cups 1x
Ingredients
- 1 (13.5 ounce) can full-fat sweetened condensed milk
- Water (for the water bath)
Instructions
- Prepare the Oven: Preheat your oven to 425°F (220°C). Make sure your oven rack is positioned in the center of the oven.
- Remove the Label: Peel off the paper label from the can of sweetened condensed milk.
- Pour into a Baking Dish: Carefully pour the sweetened condensed milk into a small oven-safe baking dish or ramekin.
- Cover Tightly with Foil: Tightly cover the baking dish with aluminum foil. Make sure the foil is crimped around the edges to create a good seal.
- Prepare the Water Bath: Place the foil-covered baking dish inside a larger baking pan. A roasting pan or a 9×13 inch baking pan works well.
- Add Hot Water: Carefully pour hot water into the larger baking pan, filling it until the water level reaches about halfway up the sides of the smaller baking dish. Be careful not to splash any water into the sweetened condensed milk!
- Bake: Carefully transfer the entire setup (the baking pan with the water bath and the baking dish with the sweetened condensed milk) to the preheated oven.
- Bake for 1.5 to 2 Hours: Bake for 1 hour and 30 minutes to 2 hours, or until the dulce de leche has reached your desired color and consistency. The longer it bakes, the darker and thicker it will become. I usually check it after 1 hour and 30 minutes and then every 15 minutes after that.
- Check for Doneness: To check for doneness, carefully remove the baking pan from the oven. Remove the foil from the smaller baking dish. The dulce de leche should be a rich caramel color. It will still be a bit loose, but it will thicken as it cools.
- Cool Completely: Remove the smaller baking dish from the water bath and let it cool completely at room temperature. As it cools, the dulce de leche will thicken considerably.
- Whisk and Store: Once the dulce de leche is completely cool, whisk it vigorously until it’s smooth and creamy. This will help to break up any lumps that may have formed during baking. Transfer the dulce de leche to an airtight container and store it in the refrigerator for up to 2 weeks.
Notes
- Use full-fat sweetened condensed milk for the best results.
- The water bath is essential for even cooking and prevents scorching.
- Check the water level during baking and add more hot water if needed.
- Adjust baking time to your preference for color and consistency.
- Be patient and let the dulce de leche cool completely before whisking.
- Add a pinch of salt after whisking to enhance the flavor (optional).
- If lumpy, whisk vigorously. If too thick, add a tablespoon or two of milk or cream.
- Do not use the stovetop or instant pot method due to safety concerns.


Leave a Comment