
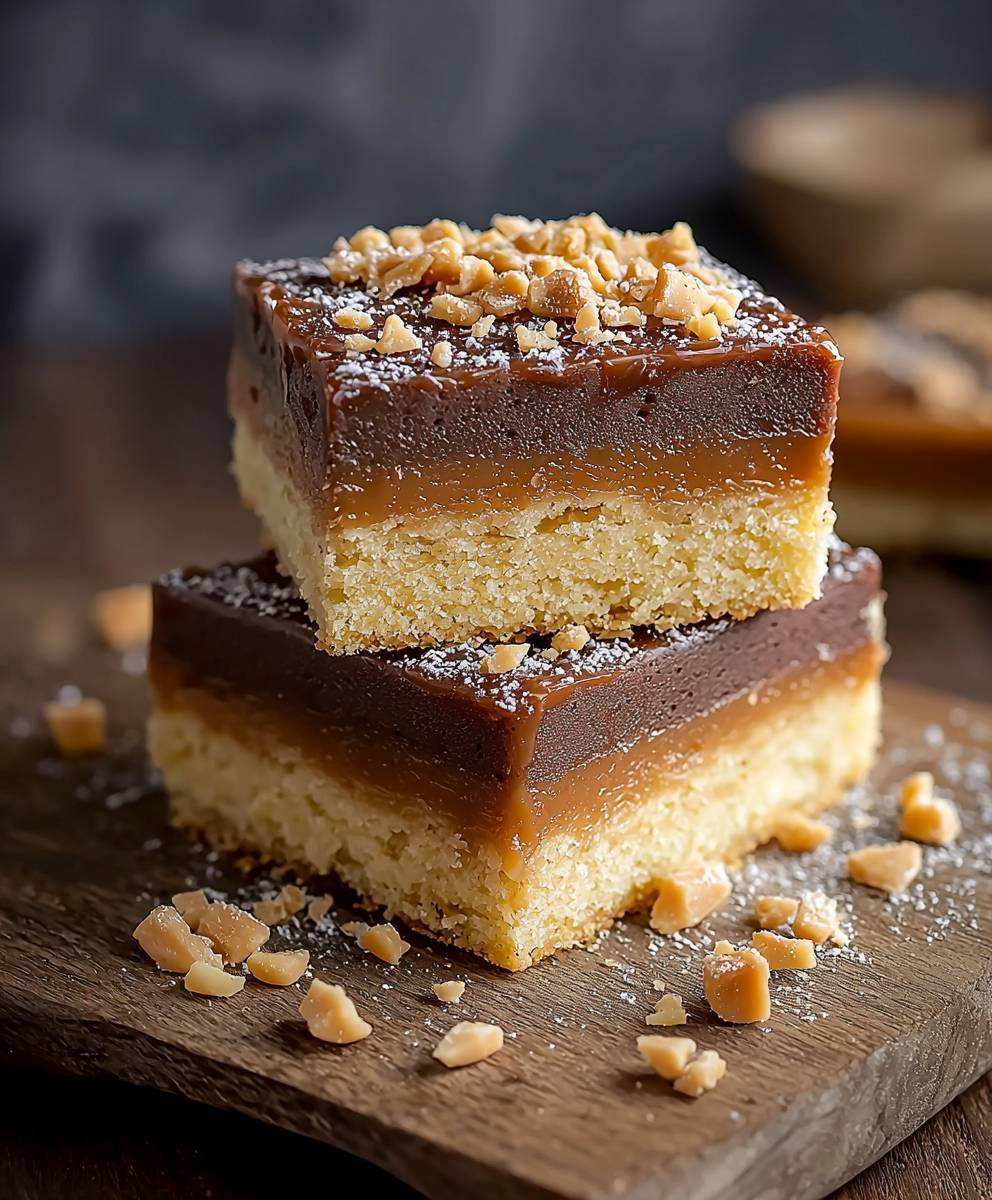
Salted Caramel Shortbread is a delightful treat that perfectly balances sweet and savory flavors, making it an irresistible dessert for any occasion. As I take a bite of this rich, buttery shortbread topped with a luscious layer of salted caramel, I am transported to a world of indulgence. This recipe has its roots in traditional Scottish shortbread, which has been enjoyed for centuries, but the addition of salted caramel elevates it to a whole new level of deliciousness.
People love Salted Caramel Shortbread not only for its exquisite taste but also for its delightful texture. The crumbly shortbread base contrasts beautifully with the smooth, gooey caramel, creating a mouthwatering experience that keeps you coming back for more. Plus, it’s a convenient dessert to whip up for gatherings or simply to satisfy your sweet tooth at home. Join me as we explore this delectable recipe that is sure to become a favorite in your household!
Ingredients:
- For the Shortbread Base:
- 1 cup (226g) unsalted butter, softened
- 1/2 cup (100g) granulated sugar
- 2 cups (250g) all-purpose flour
- 1/4 teaspoon salt
- For the Salted Caramel Layer:
- 1 cup (200g) brown sugar, packed
- 1/2 cup (120ml) heavy cream
- 1/4 cup (60g) unsalted butter
- 1 teaspoon vanilla extract
- 1/2 teaspoon sea salt (plus more for topping)
- For the Chocolate Topping:
- 1 cup (170g) semi-sweet chocolate chips
- 1 tablespoon coconut oil (optional, for a smoother finish)
Preparing the Shortbread Base
- Preheat your oven to 350°F (175°C). Line an 8×8 inch (20×20 cm) square baking pan with parchment paper, leaving some overhang for easy removal later.
- In a large mixing bowl, cream together the softened butter and granulated sugar using an electric mixer on medium speed until the mixture is light and fluffy, about 3-4 minutes.
- Gradually add the all-purpose flour and salt to the butter mixture. Mix on low speed until the dough comes together. It should be crumbly but hold together when pressed.
- Transfer the shortbread dough into the prepared baking pan. Press it down evenly using your hands or the back of a measuring cup to create a smooth, even layer.
- Bake in the preheated oven for 20-25 minutes, or until the edges are lightly golden. Keep an eye on it to avoid over-baking. Once done, remove from the oven and let it cool in the pan while you prepare the caramel.
Making the Salted Caramel Layer
- In a medium saucepan over medium heat, combine the brown sugar, heavy cream, and unsalted butter. Stir continuously until the mixture is smooth and the sugar has dissolved.
- Once the mixture starts to boil, stop stirring and let it boil for about 5 minutes. You want it to reach a deep amber color. Be careful not to let it burn; if it starts to smell burnt, remove it from the heat immediately.
- After 5 minutes, remove the saucepan from the heat and stir in the vanilla extract and sea salt. The mixture will bubble up, so be cautious.
- Let the caramel cool for about 10 minutes before pouring it over the cooled shortbread base. Use a spatula to spread it evenly across the surface.
- Once the caramel is spread out, sprinkle a little extra sea salt on top for that perfect salted caramel flavor. Allow the caramel to set at room temperature for about 30 minutes, or until it firms up slightly.
Preparing the Chocolate Topping
- While the caramel is setting, melt the semi-sweet chocolate chips. You can do this in a microwave-safe bowl in the microwave in 30-second intervals, stirring in between, until smooth. Alternatively, you can use a double boiler on the stove.
- If you want a smoother chocolate finish, stir in the coconut oil after the chocolate has melted. This will help the chocolate to spread more easily and give it a nice sheen.
- Once the chocolate is melted and smooth, pour it over the set caramel layer. Use a spatula to spread it evenly across the top.
- Sprinkle a little more sea salt on top of the chocolate for an extra touch of flavor and visual appeal.
- Place the entire pan in the refrigerator for at least 1 hour, or until the chocolate is fully set.
Assembling and Serving
- Once the chocolate has set, remove the shortbread from the pan using the parchment paper overhang. Place it on a cutting board.
- Using a
Conclusion:
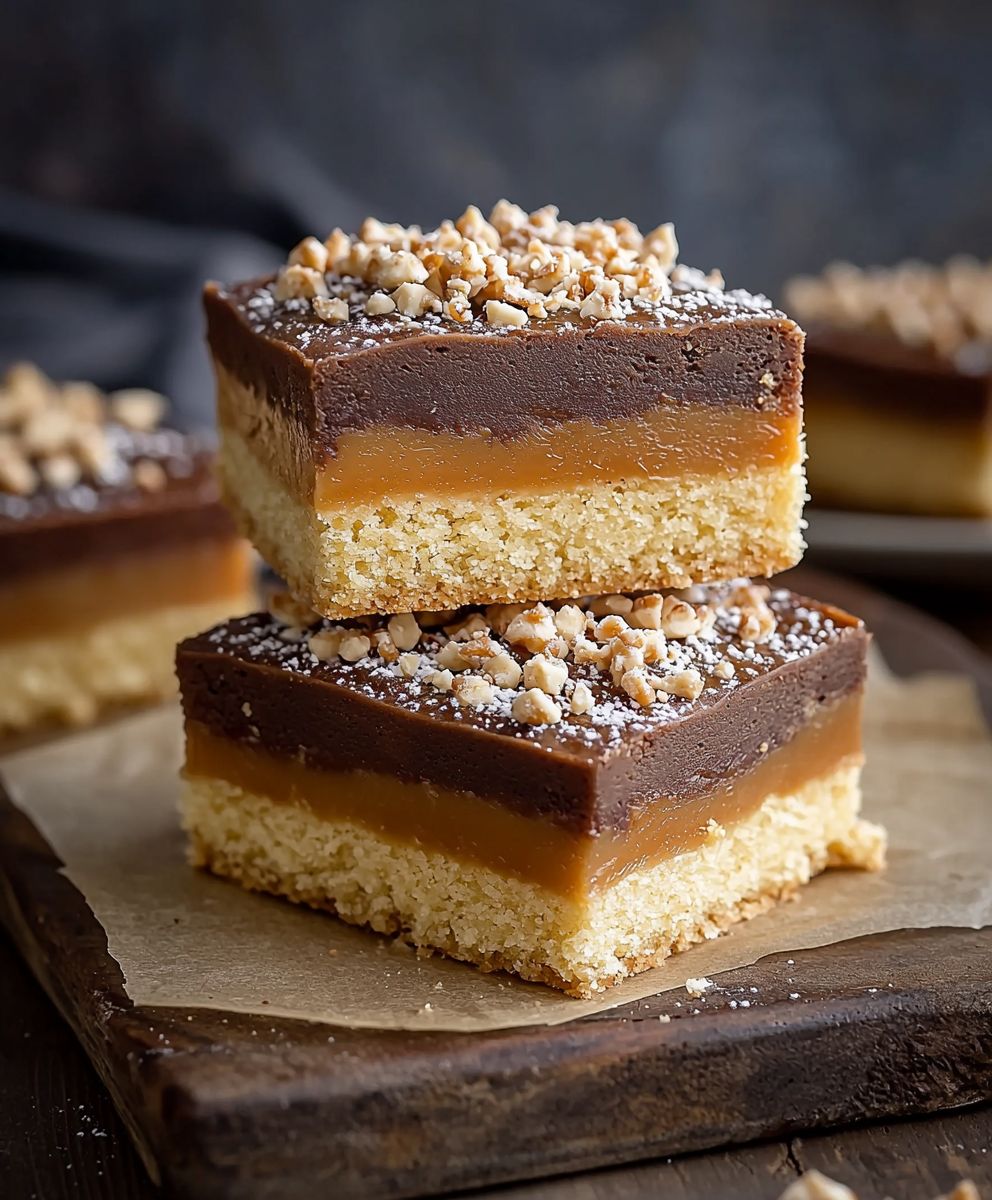
In conclusion, this Salted Caramel Shortbread recipe is an absolute must-try for anyone who loves the perfect balance of sweet and salty flavors. The buttery shortbread base, combined with the rich, gooey salted caramel, creates a delightful treat that is sure to impress your family and friends. Whether you’re serving it at a special occasion, a cozy gathering, or simply indulging yourself, these bars are guaranteed to be a hit. For serving suggestions, consider pairing these delicious shortbread bars with a scoop of vanilla ice cream or a dollop of whipped cream for an extra touch of decadence. You can also experiment with variations by adding a sprinkle of sea salt on top for an added crunch or drizzling some melted chocolate over the caramel layer for a chocolatey twist. The possibilities are endless! I encourage you to give this Salted Caramel Shortbread recipe a try and experience the joy of creating something truly special in your kitchen. Once you’ve made it, I’d love to hear about your experience! Share your thoughts, any variations you tried, or even a photo of your delicious creation. Let’s spread the love for this delightful treat together! PrintSalted Caramel Shortbread: The Ultimate Indulgent Treat You Need to Try
Indulge in decadent salted caramel chocolate shortbread bars with a buttery base, rich caramel layer, and smooth chocolate topping. Perfect for satisfying your sweet tooth on any occasion!
- Prep Time: 30 minutes
- Cook Time: 30 minutes
- Total Time: 60 minutes
- Yield: 16 bars
Ingredients
- salted caramel
- chocolate
- buttery shortbread base
Instructions
- Cut into squares or bars, depending on your preference.
- Serve immediately or store in an airtight container in the refrigerator for up to a week.
Notes
- For a richer flavor, you can use dark chocolate instead of semi-sweet chocolate.
- Make sure to keep an eye on the caramel while it’s boiling to prevent burning.
- These bars can be made ahead of time and stored in the refrigerator for a quick dessert option.


Leave a Comment