
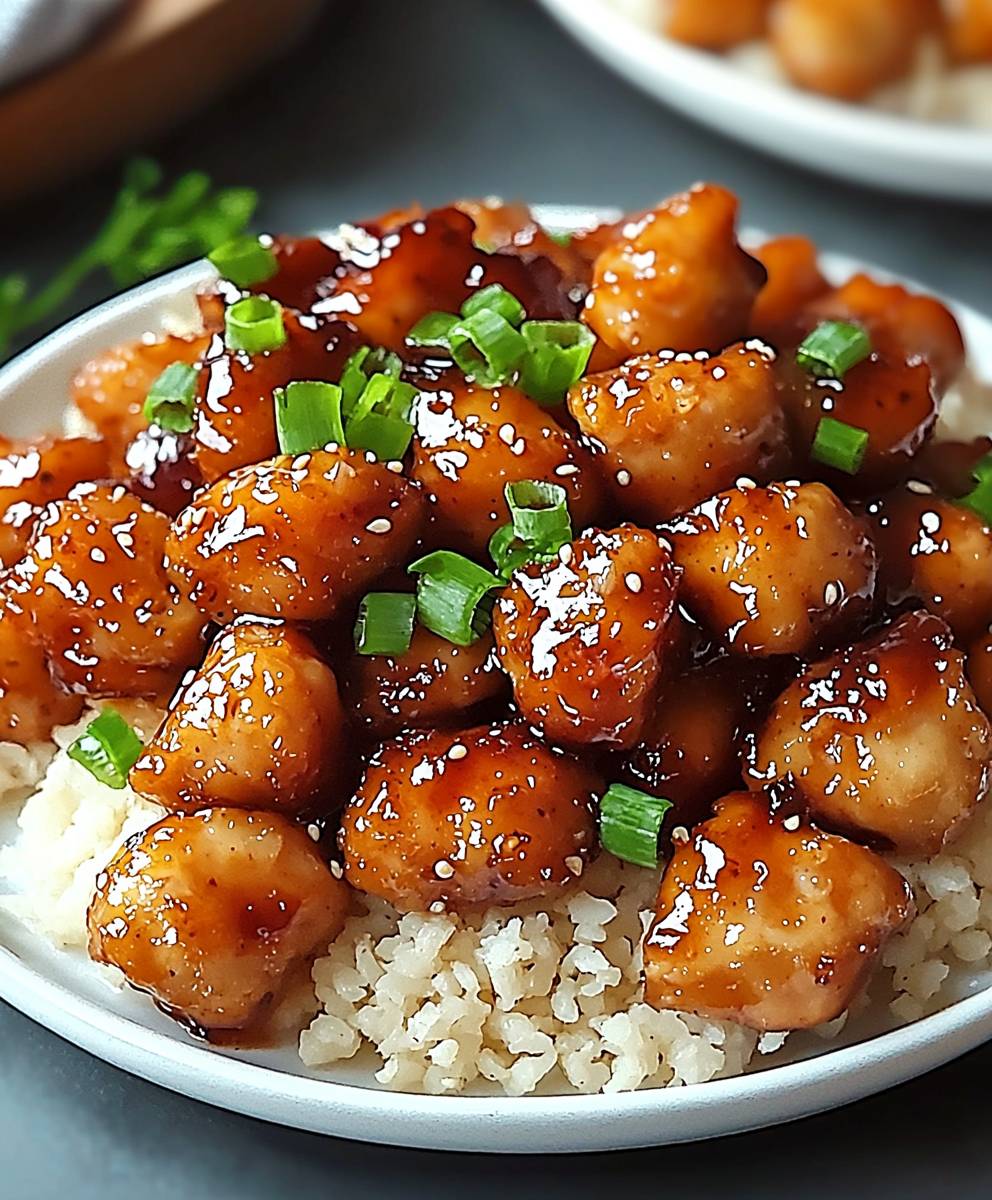
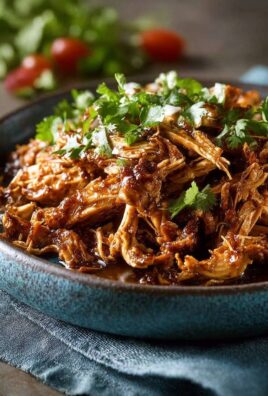
Honey Garlic Chicken, oh, where do I even begin? Imagine sinking your teeth into succulent, perfectly cooked chicken, glazed with a shimmering, sticky sauce that’s both sweet and savory. It’s a flavor explosion that will have you licking your fingers and craving more! This isn’t just dinner; it’s an experience.
While the exact origins of Honey Garlic Chicken are a bit murky, the combination of honey and garlic as a flavor enhancer has been used in various Asian cuisines for centuries. Think of the rich culinary traditions of China and Korea, where sweet and savory sauces are a cornerstone of their gastronomy. This dish is a delicious testament to the power of simple ingredients coming together in perfect harmony.
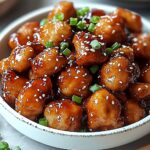
What makes this recipe so universally loved? For starters, it’s incredibly easy to make! Even if you’re a novice in the kitchen, you can whip up a batch of this in under 30 minutes. The combination of sweet honey and pungent garlic creates an irresistible flavor profile that appeals to almost everyone. The chicken is tender and juicy, and the glaze adds a beautiful sheen and a delightful stickiness that’s simply addictive. It’s perfect served over rice, noodles, or even alongside roasted vegetables for a complete and satisfying meal. Get ready to discover your new favorite weeknight dinner!

Ingredients:
- For the Chicken:
- 1.5 lbs boneless, skinless chicken thighs, cut into 1-inch pieces
- 1/4 cup cornstarch
- 1/2 teaspoon salt
- 1/4 teaspoon black pepper
- 1 tablespoon olive oil
- For the Honey Garlic Sauce:
- 1/2 cup honey
- 1/4 cup soy sauce (low sodium recommended)
- 4 cloves garlic, minced
- 1 tablespoon rice vinegar
- 1 teaspoon sesame oil
- 1/2 teaspoon red pepper flakes (optional, for heat)
- 1 tablespoon cornstarch
- 2 tablespoons water
- For Garnish (optional):
- Sesame seeds
- Chopped green onions
- Serving Suggestions:
- Cooked white rice, brown rice, or quinoa
- Steamed broccoli, green beans, or other vegetables
Preparing the Chicken:
- In a large bowl, combine the chicken pieces, cornstarch, salt, and pepper. Make sure the chicken is evenly coated with the cornstarch mixture. This will help create a nice crispy exterior when we cook it. I like to use my hands to really get in there and make sure every piece is covered.
- Heat the olive oil in a large skillet or wok over medium-high heat. You want the pan to be nice and hot before adding the chicken. A hot pan helps to sear the chicken and prevent it from sticking.
- Add the chicken to the hot skillet in a single layer, being careful not to overcrowd the pan. If you overcrowd the pan, the chicken will steam instead of sear. If necessary, cook the chicken in batches.
- Cook the chicken for about 5-7 minutes, or until it is golden brown and cooked through. Turn the chicken occasionally to ensure even cooking on all sides. The internal temperature of the chicken should reach 165°F (74°C). I usually use a meat thermometer to double-check.
- Once the chicken is cooked, remove it from the skillet and set it aside. We’ll add it back in later when we make the sauce.
Making the Honey Garlic Sauce:
- In a medium bowl, whisk together the honey, soy sauce, minced garlic, rice vinegar, sesame oil, and red pepper flakes (if using). Make sure everything is well combined. This is where all the delicious flavor comes from!
- In a separate small bowl, whisk together the cornstarch and water until smooth. This will create a slurry that will help thicken the sauce. Make sure there are no lumps in the cornstarch mixture.
- Pour the honey garlic sauce into the same skillet you used to cook the chicken. Scrape up any browned bits from the bottom of the pan these bits are full of flavor!
- Bring the sauce to a simmer over medium heat. You’ll start to see small bubbles forming around the edges of the pan.
- Slowly pour the cornstarch slurry into the simmering sauce, whisking constantly. Continue whisking until the sauce thickens to your desired consistency. This usually takes about 1-2 minutes. The sauce should be thick enough to coat the back of a spoon.
Combining Chicken and Sauce:
- Add the cooked chicken back to the skillet with the honey garlic sauce. Gently toss the chicken to coat it evenly with the sauce.
- Cook for another 1-2 minutes, allowing the chicken to heat through and the sauce to cling to the chicken. The sauce should be nice and glossy.
Serving and Garnishing:
- Remove the skillet from the heat.
- Garnish with sesame seeds and chopped green onions, if desired. These add a nice visual appeal and a little extra flavor.
- Serve the honey garlic chicken immediately over cooked rice, quinoa, or your favorite side dish. Steamed broccoli or green beans are a great complement to this dish.
Tips and Variations:
- Chicken Options: You can also use chicken breast instead of chicken thighs. Just be careful not to overcook the chicken breast, as it can become dry. Cut the chicken breast into 1-inch pieces as well.
- Vegetarian Option: For a vegetarian version, you can substitute the chicken with tofu or tempeh. Press the tofu to remove excess water before coating it in cornstarch and frying.
- Spice Level: Adjust the amount of red pepper flakes to your liking. If you don’t like spice, you can omit them altogether.
- Sweetness: If you prefer a less sweet sauce, you can reduce the amount of honey.
- Garlic: I love garlic, so I use 4 cloves. But you can adjust the amount to your preference.
- Ginger: For an extra layer of flavor, add 1 teaspoon of grated ginger to the sauce.
- Pineapple: Add chunks of pineapple to the skillet along with the chicken for a sweet and tangy twist.
- Vegetables: Feel free to add other vegetables to the skillet, such as bell peppers, onions, or carrots. Add them to the skillet before adding the sauce and cook until they are tender-crisp.
- Storage: Leftovers can be stored in an airtight container in the refrigerator for up to 3 days. Reheat in the microwave or in a skillet over medium heat.
- Make Ahead: You can prepare the honey garlic sauce ahead of time and store it in the refrigerator for up to 2 days. Just whisk it well before using. You can also cut the chicken into pieces and store it in the refrigerator for up to 24 hours before cooking.
- Serving Suggestions: This dish is also great served over noodles or in lettuce wraps.
Detailed Cooking Notes:
Choosing the Right Chicken: I prefer using chicken thighs for this recipe because they are more flavorful and stay moist during cooking. However, chicken breasts work just as well. If using chicken breasts, be sure to cut them into uniform pieces to ensure even cooking. Also, be careful not to overcook them, as they can become dry.
Cornstarch Coating: The cornstarch coating is crucial for achieving a crispy exterior on the chicken. Make sure to coat the chicken evenly with the cornstarch mixture. If you don’t have cornstarch, you can use potato starch or tapioca starch as a substitute.
Cooking the Chicken: It’s important to cook the chicken in a single layer to ensure even browning. If you overcrowd the pan, the chicken will steam instead of sear. If necessary, cook the chicken in batches. Also, make sure the pan is hot before adding the chicken. This will help to prevent the chicken from sticking and promote browning.
Making the Sauce: The honey garlic sauce is the star of this dish. Use high-quality ingredients for the best flavor. I recommend using low-sodium soy sauce to control the saltiness of the sauce. Also, be sure to mince the garlic finely so that it distributes evenly throughout the sauce.
Thickening the Sauce: The cornstarch slurry is used to thicken the sauce. Be sure to whisk the cornstarch and water together until smooth before adding it to the sauce. This will prevent lumps from forming. Also, add the slurry slowly while whisking constantly to ensure that it is evenly incorporated into the sauce.
Combining Chicken and Sauce: Once the sauce has thickened, add the cooked chicken back to the skillet and toss to coat. Cook for another 1-2 minutes to allow the chicken to heat through and the sauce to cling to the chicken. Be careful not to overcook the chicken at this stage, as it can become dry.
Serving and Garnishing: Garnish the dish with sesame seeds and chopped green onions for added flavor and visual appeal. Serve immediately over cooked rice, quinoa, or your favorite side dish. This dish is also great served over noodles or in lettuce wraps.
Troubleshooting: If the sauce is too thick, add a little water to thin it out. If the sauce is too thin, cook it for a few more minutes to allow it to thicken. If the chicken is sticking to the pan, add a little more oil. If the chicken is burning, reduce the heat.
Enjoy your homemade Honey Garlic Chicken!
Conclusion:
This Honey Garlic Chicken recipe isn’t just another weeknight dinner; it’s a flavor explosion waiting to happen, and trust me, you absolutely need to try it! The perfect balance of sweet honey, savory garlic, and tender chicken creates a dish that’s both comforting and exciting. It’s quick enough for a busy weeknight, yet impressive enough to serve to guests. I’ve made this recipe countless times, and it’s always a hit. The sticky, glistening sauce is simply irresistible, and the aroma that fills your kitchen while it’s cooking is pure magic. But what truly makes this recipe a must-try is its versatility. While it’s fantastic served simply over rice or noodles, the possibilities are endless! For a complete meal, try pairing it with roasted vegetables like broccoli, asparagus, or bell peppers. The sweetness of the honey garlic glaze complements the earthy flavors of the vegetables beautifully. You could also shred the chicken and use it as a filling for tacos or lettuce wraps for a lighter, more casual meal. Looking for variations? I’ve got you covered! If you like a little heat, add a pinch of red pepper flakes to the sauce. A squeeze of fresh lemon juice at the end brightens the flavors and adds a touch of acidity. For a richer, more decadent sauce, try adding a tablespoon of butter towards the end of cooking. And if you’re short on time, you can even use chicken thighs instead of breasts just adjust the cooking time accordingly. Serving suggestions? Oh, where do I begin! As I mentioned, rice and noodles are classic pairings, but quinoa or couscous would also work wonderfully. For a more substantial meal, serve it with a side of mashed potatoes or sweet potato fries. And don’t forget the garnish! A sprinkle of sesame seeds and chopped green onions adds a pop of color and flavor. I truly believe that this Honey Garlic Chicken recipe will become a staple in your kitchen. It’s easy to make, incredibly delicious, and endlessly adaptable. It’s the kind of dish that everyone will love, from picky eaters to seasoned foodies. It’s a guaranteed crowd-pleaser, and I can’t wait for you to experience the joy of making (and eating!) it. So, what are you waiting for? Gather your ingredients, preheat your oven (or fire up your stovetop!), and get ready to create some culinary magic. I’m confident that you’ll be amazed by the results. And most importantly, I want to hear about your experience! Did you try any variations? What did you serve it with? What did your family and friends think? Please, please, please come back and leave a comment below to let me know how it turned out. Your feedback is invaluable, and I love hearing about your cooking adventures. Share your photos on social media and tag me I can’t wait to see your creations! Happy cooking, and enjoy every delicious bite! I’m sure this will be your new favorite chicken recipe. PrintHoney Garlic Chicken: The Ultimate Recipe for Deliciousness
Quick and easy Honey Garlic Chicken with tender chicken pieces coated in a sweet and savory sauce. Perfect for a weeknight dinner!
- Prep Time: 15 minutes
- Cook Time: 20 minutes
- Total Time: 35
- Yield: 4–6 servings 1x
Ingredients
- 1.5 lbs boneless, skinless chicken thighs, cut into 1-inch pieces
- 1/4 cup cornstarch
- 1/2 teaspoon salt
- 1/4 teaspoon black pepper
- 1 tablespoon olive oil
- 1/2 cup honey
- 1/4 cup soy sauce (low sodium recommended)
- 4 cloves garlic, minced
- 1 tablespoon rice vinegar
- 1 teaspoon sesame oil
- 1/2 teaspoon red pepper flakes (optional, for heat)
- 1 tablespoon cornstarch
- 2 tablespoons water
- Sesame seeds
- Chopped green onions
- Cooked white rice, brown rice, or quinoa
- Steamed broccoli, green beans, or other vegetables
Instructions
- Prepare the Chicken: In a large bowl, combine the chicken pieces, cornstarch, salt, and pepper. Ensure the chicken is evenly coated.
- Cook the Chicken: Heat the olive oil in a large skillet or wok over medium-high heat. Add the chicken in a single layer, being careful not to overcrowd the pan. Cook for 5-7 minutes, or until golden brown and cooked through (internal temperature of 165°F/74°C). Remove from skillet and set aside.
- Make the Honey Garlic Sauce: In a medium bowl, whisk together the honey, soy sauce, minced garlic, rice vinegar, sesame oil, and red pepper flakes (if using).
- Thicken the Sauce: In a separate small bowl, whisk together the cornstarch and water until smooth.
- Simmer the Sauce: Pour the honey garlic sauce into the same skillet you used to cook the chicken. Scrape up any browned bits from the bottom of the pan. Bring the sauce to a simmer over medium heat.
- Add Cornstarch Slurry: Slowly pour the cornstarch slurry into the simmering sauce, whisking constantly. Continue whisking until the sauce thickens to your desired consistency (about 1-2 minutes).
- Combine Chicken and Sauce: Add the cooked chicken back to the skillet with the honey garlic sauce. Gently toss to coat evenly.
- Heat Through: Cook for another 1-2 minutes, allowing the chicken to heat through and the sauce to cling to the chicken.
- Serve: Remove from heat. Garnish with sesame seeds and chopped green onions, if desired. Serve immediately over cooked rice, quinoa, or your favorite side dish.
Notes
- Chicken Options: Chicken breast can be used instead of thighs.
- Vegetarian Option: Substitute chicken with tofu or tempeh.
- Spice Level: Adjust red pepper flakes to your preference.
- Sweetness: Reduce honey for a less sweet sauce.
- Ginger: Add 1 teaspoon of grated ginger to the sauce.
- Pineapple: Add chunks of pineapple for a sweet and tangy twist.
- Vegetables: Add bell peppers, onions, or carrots before the sauce.
- Storage: Store leftovers in an airtight container in the refrigerator for up to 3 days.
- Make Ahead: Prepare the sauce ahead of time and store in the refrigerator for up to 2 days.
- Serving Suggestions: Serve over noodles or in lettuce wraps.
Leave a Comment