
Hawaiian Butter Mochi: Prepare to be transported to a tropical paradise with every chewy, buttery bite! This isn’t just a dessert; it’s a taste of Aloha, a sweet reminder of sun-kissed beaches and gentle ocean breezes. Have you ever craved a treat that’s both comforting and exotic, familiar yet intriguingly different? Then look no further.
Butter Mochi, a delightful fusion of Japanese mochi and classic American baking, has become a beloved staple in Hawaiian cuisine. Its origins trace back to the influx of Japanese immigrants who brought their mochi-making traditions to the islands. Over time, resourceful cooks adapted the recipe, incorporating readily available ingredients like butter, coconut milk, and sugar, resulting in the uniquely Hawaiian treat we know and love today.
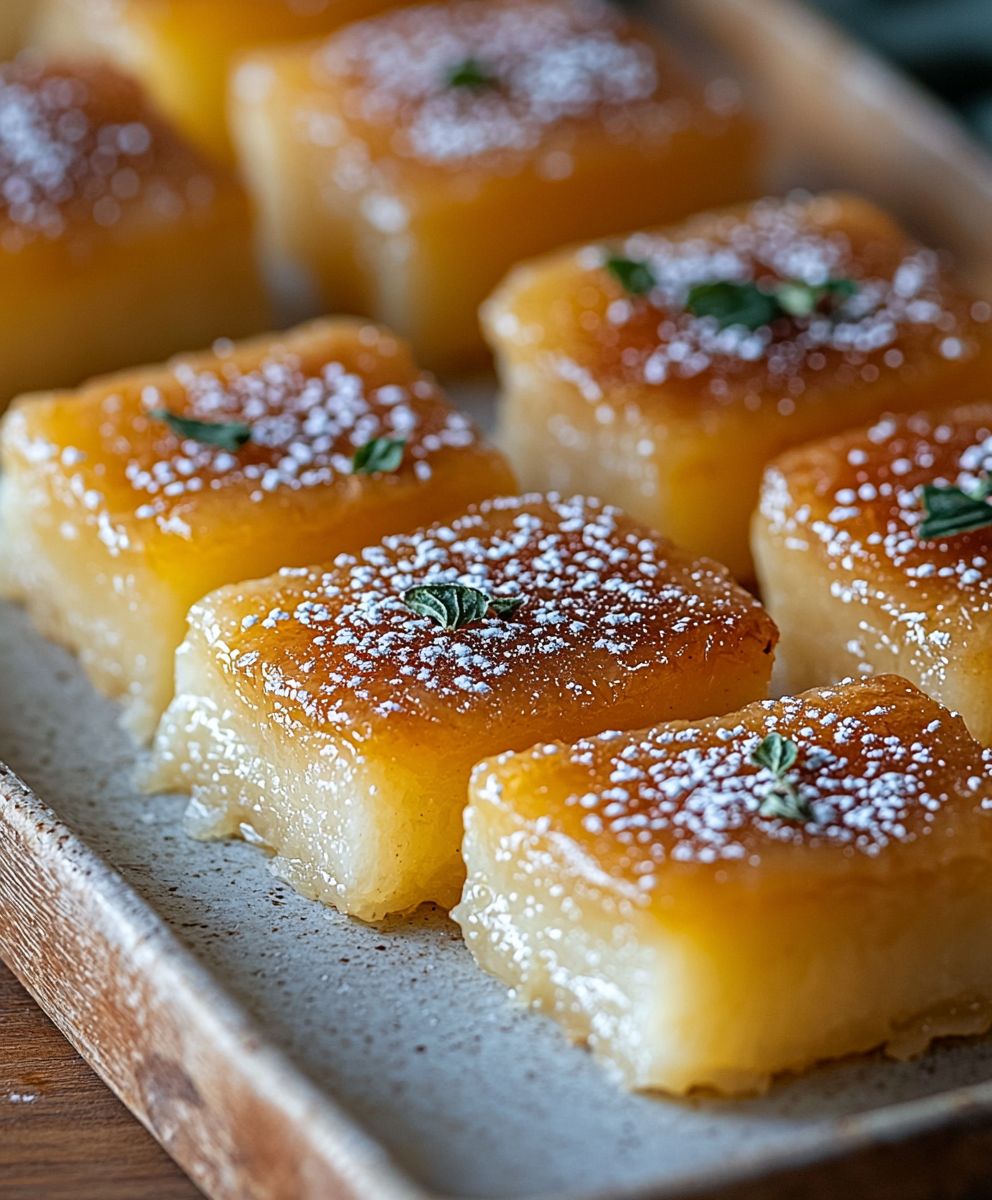
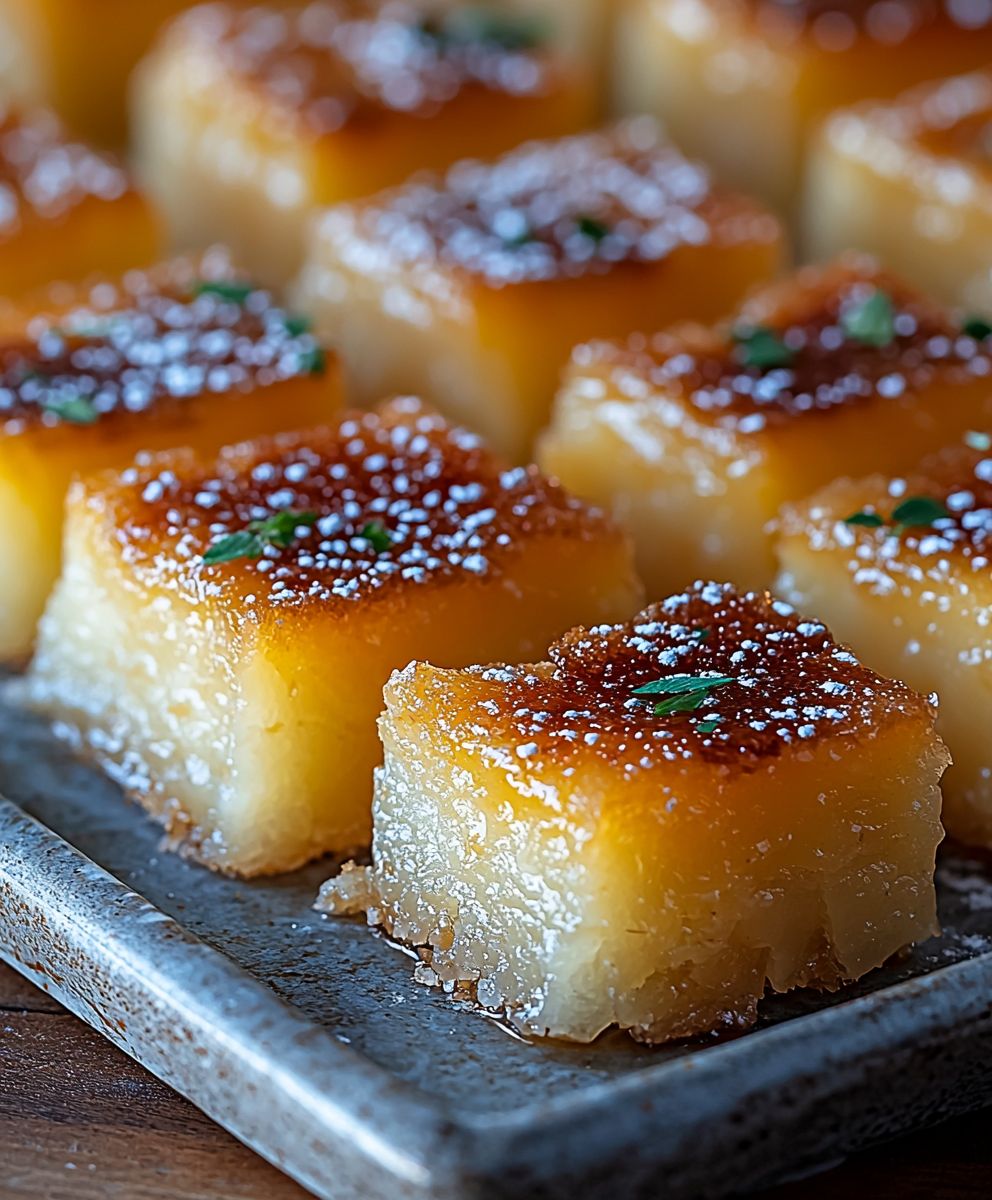
What makes Hawaiian Butter Mochi so irresistible? It’s the perfect marriage of textures: a slightly crisp exterior gives way to an incredibly soft, chewy, and almost bouncy interior. The rich, buttery flavor is perfectly balanced by the subtle sweetness of the mochi flour and the creamy notes of coconut milk. It’s incredibly easy to make, requiring minimal ingredients and effort, making it a perfect treat for potlucks, family gatherings, or simply a sweet indulgence on a cozy afternoon. Trust me, once you try this recipe, it will quickly become a family favorite!
Ingredients:
- For the Mochi:
- 1 box (16 ounces) sweet rice flour (also known as mochiko flour)
- 2 cups granulated sugar
- 1 teaspoon baking powder
- 1/2 teaspoon salt
- 2 cups whole milk
- 1 (13.5 ounce) can coconut milk (full-fat recommended)
- 1/2 cup unsalted butter, melted
- 2 large eggs, lightly beaten
- 1 teaspoon vanilla extract
- Optional Toppings:
- Toasted coconut flakes
- Sesame seeds
- Chopped macadamia nuts
Preparing the Mochi Batter
Alright, let’s get started with the most important part: the batter! This is where the magic happens, and it’s surprisingly easy to whip up. Just follow these steps, and you’ll be well on your way to enjoying some delicious Hawaiian Butter Mochi.
- Preheat your oven and prepare your baking pan: First things first, preheat your oven to 350°F (175°C). While the oven is heating up, grease a 9×13 inch baking pan really well. I like to use butter or cooking spray, and then I dust it with a little bit of mochiko flour to prevent sticking. Trust me, you don’t want your mochi to stick to the pan!
- Combine the dry ingredients: In a large mixing bowl, whisk together the sweet rice flour (mochiko flour), granulated sugar, baking powder, and salt. Make sure everything is evenly distributed. This ensures that the baking powder works its magic and the mochi rises properly.
- Incorporate the wet ingredients: In a separate bowl, whisk together the whole milk, coconut milk, melted butter, eggs, and vanilla extract. Make sure the melted butter isn’t too hot, or it might cook the eggs!
- Combine wet and dry ingredients: Gradually pour the wet ingredients into the dry ingredients, whisking constantly until just combined. Be careful not to overmix the batter. A few lumps are okay, but you want to avoid developing too much gluten, which can make the mochi tough. The batter should be smooth and pourable.
- Pour the batter into the prepared pan: Pour the batter evenly into the greased and floured baking pan. If you see any air bubbles, you can gently tap the pan on the counter to release them.
Baking the Hawaiian Butter Mochi
Now comes the waiting game! But trust me, the aroma that fills your kitchen while this bakes is absolutely divine. Here’s how to bake your mochi to perfection:
- Bake in the preheated oven: Place the baking pan in the preheated oven and bake for 50-60 minutes, or until the top is golden brown and a toothpick inserted into the center comes out clean. The baking time may vary depending on your oven, so keep an eye on it.
- Check for doneness: To check for doneness, insert a toothpick into the center of the mochi. If it comes out clean or with just a few moist crumbs, it’s ready. If it comes out with wet batter, bake for a few more minutes and check again.
- Cool completely: Once the mochi is baked, remove it from the oven and let it cool completely in the pan before cutting. This is crucial! If you try to cut it while it’s still warm, it will be too sticky and messy. Cooling allows the mochi to firm up and makes it easier to cut into squares. I usually let it cool for at least 2 hours, or even overnight.
Cutting and Serving Your Mochi
Finally, the moment we’ve all been waiting for! Cutting and serving your homemade Hawaiian Butter Mochi. This is the best part, because you get to enjoy the fruits (or rather, the mochi) of your labor!
- Cut into squares: Once the mochi is completely cooled, use a sharp knife to cut it into squares. The size of the squares is up to you, but I usually cut them into 2-inch squares.
- Optional Toppings: This is where you can get creative! Sprinkle the mochi with toasted coconut flakes, sesame seeds, or chopped macadamia nuts for added flavor and texture. You can also drizzle it with a little bit of honey or maple syrup if you like.
- Serve and enjoy: Serve the mochi at room temperature or slightly chilled. It’s delicious on its own, but it also pairs well with a cup of coffee or tea.
Tips and Tricks for Perfect Mochi
Here are a few extra tips and tricks to ensure your Hawaiian Butter Mochi turns out perfectly every time:
- Use high-quality ingredients: The quality of your ingredients will affect the taste and texture of your mochi. Use good quality sweet rice flour, coconut milk, and butter for the best results.
- Don’t overmix the batter: Overmixing the batter can develop too much gluten, which can make the mochi tough. Mix the wet and dry ingredients until just combined.
- Grease and flour the pan well: This will prevent the mochi from sticking to the pan. I like to use butter or cooking spray, and then dust it with a little bit of mochiko flour.
- Let the mochi cool completely before cutting: This is crucial! If you try to cut it while it’s still warm, it will be too sticky and messy. Cooling allows the mochi to firm up and makes it easier to cut into squares.
- Store leftover mochi in an airtight container: This will keep it from drying out. Mochi is best enjoyed within a few days of baking.
- Experiment with flavors: Feel free to experiment with different flavors and toppings. You can add chocolate chips, chopped nuts, or even a swirl of peanut butter to the batter.
- Adjust sweetness to your liking: If you prefer a less sweet mochi, you can reduce the amount of sugar in the recipe.
- Use a scale for accuracy: For the most accurate results, use a kitchen scale to measure your ingredients. This is especially important for the sweet rice flour.
Troubleshooting Your Mochi
Sometimes, things don’t go exactly as planned. Here are some common problems you might encounter when making Hawaiian Butter Mochi, and how to fix them:
- Mochi is too sticky: This could be due to several factors, such as not cooling the mochi completely before cutting, using too much liquid in the batter, or not baking it long enough. Make sure to let the mochi cool completely before cutting, and double-check your measurements.
- Mochi is too dry: This could be due to overbaking the mochi, using too little liquid in the batter, or storing it improperly. Make sure to bake the mochi until it’s just set, and store it in an airtight container.
- Mochi is not rising: This could be due to using old baking powder, not mixing the baking powder evenly into the dry ingredients, or not preheating the oven properly. Make sure to use fresh baking powder and mix it well into the dry ingredients.
- Mochi is tough: This could be due to overmixing the batter, which develops too much gluten. Mix the wet and dry ingredients until just combined.
- Mochi is burning on top: If the top of the mochi is browning too quickly, you can tent it with aluminum foil during the last 15-20 minutes of baking.
Variations on Hawaiian Butter Mochi
Once you’ve mastered the basic recipe, you can start experimenting with different variations. Here are a few ideas to get you started:
- Chocolate Mochi: Add 1/4 cup of unsweetened cocoa powder to the dry ingredients. You can also add chocolate chips to the batter.
- Matcha Mochi: Add 1-2 tablespoons of matcha powder to the dry ingredients.
- Ube Mochi: Add 1-2 teaspoons of ube extract to the wet ingredients. You can also add a few drops of purple food coloring for a more vibrant color.
- Peanut Butter Mochi: Swirl a few tablespoons of peanut butter into the batter before baking.
- Coffee Mochi: Add 1-2 tablespoons of instant coffee powder to the dry ingredients.
- Fruity Mochi: Add chopped fruit, such as pineapple, mango
Conclusion:
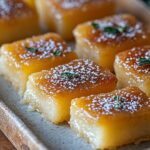
This Hawaiian Butter Mochi recipe isn’t just another dessert; it’s a taste of the islands, a comforting hug in every chewy, sweet bite. I truly believe you’ll find yourself making this again and again. The simplicity of the ingredients combined with the surprisingly complex texture that delightful chewiness contrasted with the slightly crisp edges makes it utterly irresistible. Its a guaranteed crowd-pleaser, perfect for potlucks, family gatherings, or simply a sweet treat to brighten your day. But why is this recipe a must-try? Beyond the incredible flavor and texture, it’s the sheer ease of preparation. Seriously, you can whip this up in minutes, and the baking time is relatively short. It’s a fantastic option when you need a delicious dessert without spending hours in the kitchen. Plus, it’s naturally gluten-free, making it a wonderful choice for those with dietary restrictions. You don’t have to be a seasoned baker to achieve mochi perfection with this recipe; it’s incredibly forgiving and yields consistent results every time. Now, let’s talk serving suggestions and variations! While this Hawaiian Butter Mochi is absolutely divine on its own, warm or at room temperature, there are plenty of ways to elevate the experience. A scoop of vanilla ice cream is a classic pairing, the cold creaminess perfectly complementing the warm, chewy mochi. For a tropical twist, try coconut ice cream or even a dollop of whipped cream infused with coconut extract. Feeling adventurous? Consider adding mix-ins to the batter! Chocolate chips are always a winner, or you could try chopped macadamia nuts for an extra dose of Hawaiian flavor. A sprinkle of toasted sesame seeds before baking adds a nutty aroma and visual appeal. For a fruity variation, fold in some diced pineapple or mango. The possibilities are endless! Another fun idea is to cut the mochi into smaller squares and serve them as bite-sized treats. These are perfect for parties or as a sweet addition to a dessert platter. You can even dust them with powdered sugar for a more elegant presentation. I’m so excited for you to try this recipe and experience the magic of Hawaiian Butter Mochi for yourself. It’s a dessert that’s both familiar and unique, comforting and exciting. I’ve poured my heart into perfecting this recipe, and I’m confident that you’ll love it as much as I do. So, what are you waiting for? Gather your ingredients, preheat your oven, and get ready to embark on a culinary journey to the islands. Once you’ve made it, I’d absolutely love to hear about your experience! Share your photos and stories in the comments below. Did you try any variations? What did your family and friends think? Your feedback is invaluable and helps me continue to improve and share delicious recipes with the world. Don’t be shy let me know how your Hawaiian Butter Mochi turned out! Happy baking! PrintHawaiian Butter Mochi: The Ultimate Guide to Making This Delicious Treat
Chewy, sweet, and buttery Hawaiian Butter Mochi is a delicious baked treat made with sweet rice flour and coconut milk. This easy recipe creates a golden, gooey dessert perfect for any occasion.
- Prep Time: 15 minutes
- Cook Time: 50 minutes
- Total Time: 135 minutes
- Yield: 24–32 squares 1x
Ingredients
Scale- 1 box (16 ounces) sweet rice flour (mochiko flour)
- 2 cups granulated sugar
- 1 teaspoon baking powder
- 1/2 teaspoon salt
- 2 cups whole milk
- 1 (13.5 ounce) can coconut milk (full-fat recommended)
- 1/2 cup unsalted butter, melted
- 2 large eggs, lightly beaten
- 1 teaspoon vanilla extract
- Toasted coconut flakes
- Sesame seeds
- Chopped macadamia nuts
Instructions
- Preheat oven to 350°F (175°C). Grease a 9×13 inch baking pan well with butter or cooking spray, then dust with mochiko flour.
- In a large bowl, whisk together sweet rice flour, sugar, baking powder, and salt.
- In a separate bowl, whisk together whole milk, coconut milk, melted butter, eggs, and vanilla extract.
- Gradually pour the wet ingredients into the dry ingredients, whisking constantly until just combined. Do not overmix.
- Pour the batter evenly into the prepared pan. Tap gently to release air bubbles.
- Bake in the preheated oven for 50-60 minutes, or until the top is golden brown and a toothpick inserted into the center comes out clean.
- Remove from oven and let cool completely in the pan before cutting (at least 2 hours or overnight).
- Cut into squares. Sprinkle with optional toppings like toasted coconut, sesame seeds, or macadamia nuts. Serve at room temperature or slightly chilled.
Notes
- Use high-quality ingredients for the best flavor and texture.
- Don’t overmix the batter to avoid tough mochi.
- Grease and flour the pan well to prevent sticking.
- Cool completely before cutting for easier handling.
- Store leftovers in an airtight container.
- Experiment with flavors like chocolate, matcha, or ube.
- Adjust sweetness to your liking.
- Use a scale for accuracy, especially for the sweet rice flour.
- If the top is browning too quickly, tent it with aluminum foil during the last 15-20 minutes of baking.

Leave a Comment