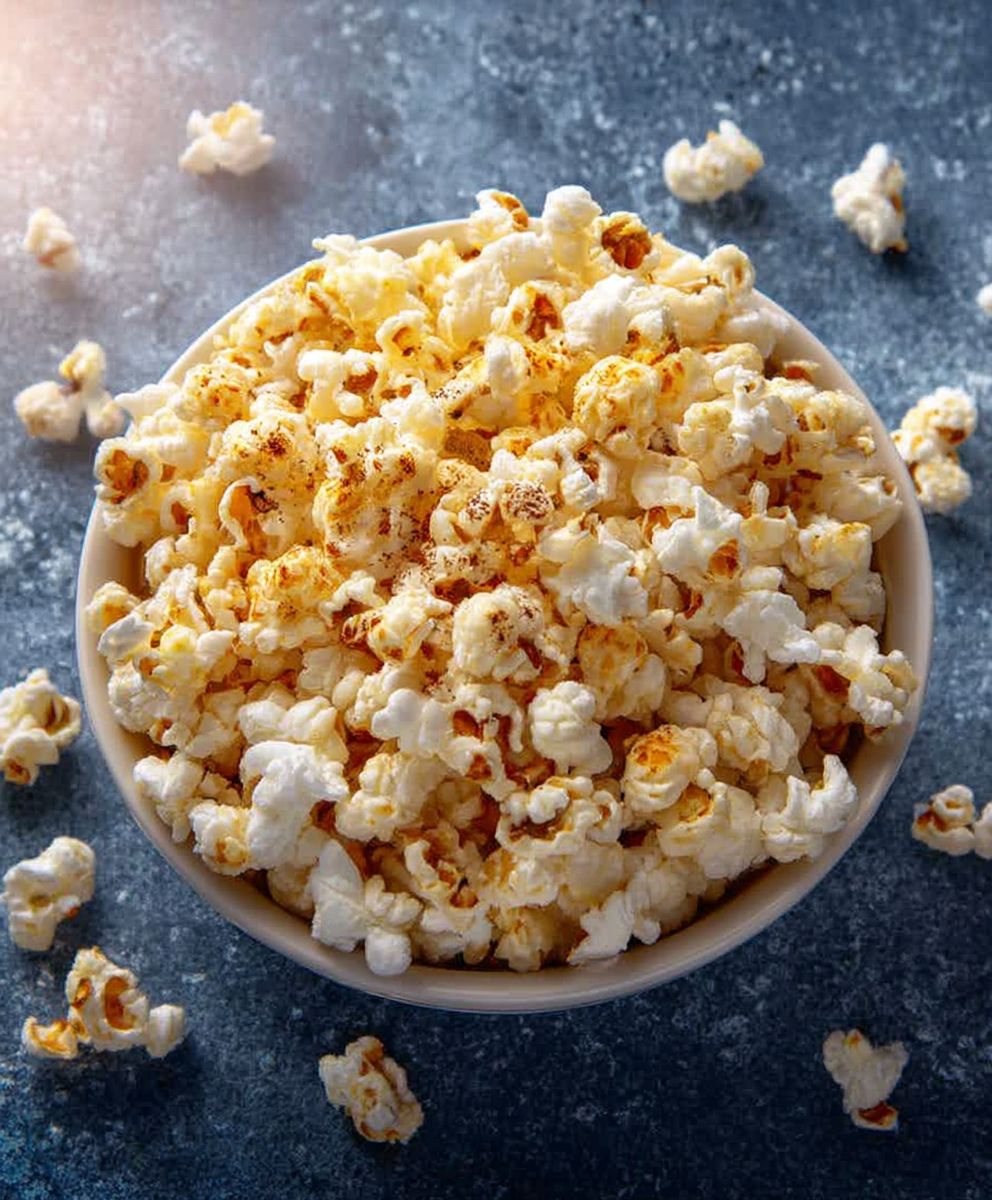
Homemade Kettle Corn: Prepare to be transported back to carefree summer evenings at the county fair with the irresistible aroma of sweet and salty perfection! Forget the pre-packaged stuff we’re about to unlock the secrets to crafting the most delightful kettle corn you’ve ever tasted, right in your own kitchen.
Kettle corn, with its unique blend of sweet and savory flavors, has a surprisingly rich history. While its exact origins are debated, many believe it evolved from early American settlers experimenting with adding sweeteners to popcorn cooked in large kettles over open fires. This simple treat quickly became a staple at gatherings and celebrations, a tradition that continues to this day.
What makes homemade kettle corn so universally loved? It’s the delightful contrast, of course! The satisfying crunch of perfectly popped kernels is enhanced by a delicate sweetness that dances on your tongue, followed by a subtle hint of salt that keeps you coming back for more. Plus, it’s incredibly easy and quick to make, requiring only a few simple ingredients and minimal effort. Whether you’re looking for a fun snack for movie night, a crowd-pleasing treat for a party, or simply a nostalgic indulgence, this recipe is guaranteed to deliver smiles with every bite. So, grab your ingredients, and let’s get popping!
Ingredients:
- 1/2 cup popcorn kernels (yellow or white, your preference!)
- 1/4 cup granulated sugar
- 1/4 cup vegetable oil (or coconut oil for a slightly different flavor)
- 1/2 teaspoon salt (or more, to taste)
- Optional: 1 tablespoon butter, melted (for extra richness)
Preparing the Kettle Corn:
- Get your supplies ready. Before you even think about turning on the stove, gather all your ingredients and measuring tools. Trust me, having everything within arm’s reach will make the process so much smoother. I like to pre-measure the sugar and oil into separate bowls so I can add them quickly when the time comes.
- Choose your pot wisely. You’ll need a large, heavy-bottomed pot with a tight-fitting lid. A 6-quart pot is ideal. The heavy bottom helps distribute the heat evenly, preventing the popcorn from burning, and the tight-fitting lid is crucial for keeping those kernels contained! I’ve learned this the hard way with popcorn explosions all over my kitchen.
- Combine the ingredients. Pour the vegetable oil into the pot and place it over medium-high heat. Add the popcorn kernels, sugar, and salt to the pot. If you’re using melted butter, add it now as well.
- Stir, stir, stir! This is where the magic (and the arm workout) begins. Stir the mixture constantly with a wooden spoon or heat-resistant spatula. This is super important to ensure the sugar doesn’t burn and that all the kernels are evenly coated with the oil and sugar mixture. Keep stirring until the sugar starts to dissolve and the kernels begin to sizzle.
- Cover and listen. Once the kernels start to sizzle, immediately cover the pot with the lid. Reduce the heat slightly to medium. Now, listen carefully! You’ll start to hear the popcorn popping.
- Shake it up! Every 20-30 seconds, carefully shake the pot back and forth over the burner. This helps to prevent the popcorn from burning on the bottom and ensures that all the kernels have a chance to pop. Be careful when shaking, as the pot will be hot! Use oven mitts or pot holders.
- Listen for the slowing. The popping will start to slow down after a few minutes. This is your cue to pay close attention. Once the popping slows to about 2-3 seconds between pops, remove the pot from the heat.
- Release the steam. Carefully remove the lid, tilting it away from you to avoid the steam. Be cautious, as there may still be a few unpopped kernels that could pop out.
- Pour and cool. Immediately pour the kettle corn onto a large baking sheet lined with parchment paper. This will help it cool quickly and prevent it from sticking together.
- Separate and cool completely. Use a spatula or your hands (once it’s cool enough to handle) to spread the kettle corn into a single layer. This will allow it to cool completely and prevent it from becoming soggy. Remove any unpopped kernels you find.
- Enjoy! Once the kettle corn is completely cool, it’s ready to eat! Store any leftovers in an airtight container at room temperature.
Tips and Tricks for Perfect Kettle Corn:
- Use fresh popcorn kernels. Older kernels tend to be drier and may not pop as well.
- Don’t overcrowd the pot. Using too many kernels at once can result in uneven popping and burnt sugar. Stick to the 1/2 cup measurement for best results.
- Adjust the sweetness to your liking. If you prefer a less sweet kettle corn, reduce the amount of sugar slightly.
- Experiment with flavors. Try adding a pinch of cinnamon, nutmeg, or even chili powder for a unique twist.
- Watch the heat carefully. If the kettle corn starts to burn, immediately remove the pot from the heat and let it cool slightly before continuing.
- Clean your pot immediately. The sugar can be difficult to remove if it hardens. Fill the pot with hot, soapy water and let it soak for a few minutes before scrubbing.
Troubleshooting:
- Too many unpopped kernels: This could be due to old kernels, not enough oil, or not enough heat. Make sure your kernels are fresh and that you’re using the correct amount of oil. Also, ensure your stovetop is heating properly.
- Burnt sugar: This is usually caused by too much heat or not enough stirring. Reduce the heat and stir constantly to prevent the sugar from burning.
- Soggy kettle corn: This can happen if the kettle corn is not cooled properly or if it’s stored in a humid environment. Make sure to spread the kettle corn into a single layer to cool completely and store it in an airtight container.
- Kettle corn is sticking together: This is often due to too much sugar. Try reducing the amount of sugar slightly in your next batch. Also, make sure to spread the kettle corn out on a baking sheet to cool.
Variations:
- Spicy Kettle Corn: Add 1/4 teaspoon of chili powder or cayenne pepper to the mixture for a spicy kick.
- Cinnamon Sugar Kettle Corn: Add 1 teaspoon of cinnamon to the sugar before adding it to the pot.
- Caramel Kettle Corn: After the kettle corn is popped, drizzle it with melted caramel and sprinkle with sea salt.
- Chocolate Kettle Corn: Drizzle the popped kettle corn with melted chocolate and let it harden.
Storing Kettle Corn:
To keep your homemade kettle corn fresh and crunchy, store it in an airtight container at room temperature. It should stay good for about 3-5 days, although I doubt it will last that long! The key is to prevent moisture from getting in, as that will make it soggy. A zip-top bag works in a pinch, but a container with a tight-fitting lid is ideal.
Why Homemade Kettle Corn is the Best:
Okay, I might be a little biased, but I truly believe that homemade kettle corn is far superior to the store-bought stuff. Here’s why:
- You control the ingredients: You know exactly what’s going into your kettle corn, so you can avoid artificial flavors, preservatives, and excessive amounts of salt or sugar.
- It’s fresher: Nothing beats the taste of freshly popped kettle corn. The aroma alone is enough to make your mouth water!
- It’s customizable: You can adjust the sweetness, saltiness, and flavorings to your exact liking.
- It’s a fun activity: Making kettle corn is a fun and easy activity that you can do with your family or friends.
- It’s cheaper: Making your own kettle corn is significantly cheaper than buying it pre-made.
Serving Suggestions:
Kettle corn is a versatile snack that can be enjoyed in many different ways. Here are a few serving suggestions:
- As a snack: Simply enjoy a bowl of kettle corn as a satisfying and delicious snack.
- At a party: Kettle corn is a crowd-pleasing snack that’s perfect for parties and gatherings.
- Movie night: Ditch the boring buttered popcorn and enjoy a bowl of sweet and salty kettle corn during your next movie night.
- Gift giving: Package kettle corn in a decorative bag or container and give it as a homemade gift.
- Topping for desserts: Sprinkle kettle corn over ice cream, yogurt, or other desserts for a crunchy and flavorful topping.
Nutritional Information (Approximate):
Please note that the nutritional information is an estimate and can vary depending on the specific ingredients used.
- Serving Size: 1 cup
- Calories: Approximately 150-200
- Fat: 8-10 grams
- Saturated Fat: 1-2 grams
- Cholesterol: 0 mg
- Sodium: 100-150 mg
- Carbohydrates: 20-25 grams
- Sugar: 10-15 grams
- Protein: 2-3 grams
Enjoy your homemade kettle corn! I hope you find this recipe helpful and that you have as much fun making it as I do. Happy popping!

Conclusion:
So there you have it! This Homemade Kettle Corn recipe is truly a game-changer, and I genuinely believe it deserves a spot in your regular snack rotation. Why? Because it’s ridiculously easy, incredibly satisfying, and offers that perfect sweet and salty balance that’s simply irresistible. Forget the pre-packaged stuff loaded with artificial flavors and preservatives. With just a few simple ingredients and a little bit of your time, you can create a batch of kettle corn that’s fresher, tastier, and healthier than anything you’ll find at the store.
But the best part? It’s completely customizable! While the recipe I’ve shared is a fantastic starting point, feel free to experiment and make it your own. Craving a little extra sweetness? Add a touch more sugar. Prefer a bolder salty flavor? Don’t be shy with the salt! You can even get creative with different flavorings. A sprinkle of cinnamon sugar after popping adds a warm, comforting touch, while a dash of chili powder brings a surprising kick. For a truly decadent treat, drizzle melted chocolate over the finished kettle corn and let it set. The possibilities are endless!
Beyond the basic recipe, consider these serving suggestions to elevate your kettle corn experience:
* Movie Night Magic: Serve a big bowl of warm kettle corn alongside your favorite movie for the ultimate at-home cinema experience.
* Party Perfect: Kettle corn is a crowd-pleaser at parties and gatherings. Package it in individual bags for easy snacking.
* Gourmet Gift: Package your homemade kettle corn in a decorative tin or jar for a thoughtful and delicious gift.
* Trail Mix Upgrade: Add kettle corn to your favorite trail mix for a sweet and salty crunch.
* Dessert Topping: Sprinkle kettle corn over ice cream or yogurt for a fun and unexpected topping.
I’ve personally made this Homemade Kettle Corn recipe countless times, and it’s always a hit. My family devours it within minutes, and I often find myself making a double batch just to keep up with the demand. It’s the perfect snack for any occasion, whether you’re relaxing at home, hosting a party, or simply craving something sweet and salty.
I truly hope you’ll give this recipe a try. I’m confident that you’ll be amazed at how easy it is to make and how delicious it tastes. And more importantly, I’d love to hear about your experience! Did you try any variations? Did you add any special ingredients? What did your family and friends think?
Please, don’t hesitate to leave a comment below and share your thoughts. Your feedback is invaluable, and it helps me continue to create recipes that you’ll love. So go ahead, grab your ingredients, and get popping! I can’t wait to hear all about your Homemade Kettle Corn adventures. Happy snacking!
Homemade Kettle Corn: The Ultimate Guide to Sweet & Salty Perfection
Sweet and salty kettle corn made easily on the stovetop! A perfect snack for movie nights, parties, or anytime you crave a delicious treat.
Ingredients
- 1/2 cup popcorn kernels (yellow or white)
- 1/4 cup granulated sugar
- 1/4 cup vegetable oil (or coconut oil)
- 1/2 teaspoon salt (or more, to taste)
- Optional: 1 tablespoon butter, melted (for extra richness)
Instructions
- Get your supplies ready. Gather all ingredients and measuring tools. Pre-measure the sugar and oil into separate bowls.
- Choose your pot wisely. Use a large, heavy-bottomed pot with a tight-fitting lid (6-quart is ideal).
- Combine the ingredients. Pour the vegetable oil into the pot and place it over medium-high heat. Add the popcorn kernels, sugar, and salt to the pot. If you’re using melted butter, add it now as well.
- Stir, stir, stir! Stir the mixture constantly with a wooden spoon or heat-resistant spatula. Keep stirring until the sugar starts to dissolve and the kernels begin to sizzle.
- Cover and listen. Once the kernels start to sizzle, immediately cover the pot with the lid. Reduce the heat slightly to medium. Now, listen carefully! You’ll start to hear the popcorn popping.
- Shake it up! Every 20-30 seconds, carefully shake the pot back and forth over the burner. Use oven mitts or pot holders.
- Listen for the slowing. Once the popping slows to about 2-3 seconds between pops, remove the pot from the heat.
- Release the steam. Carefully remove the lid, tilting it away from you to avoid the steam.
- Pour and cool. Immediately pour the kettle corn onto a large baking sheet lined with parchment paper.
- Separate and cool completely. Use a spatula or your hands (once it’s cool enough to handle) to spread the kettle corn into a single layer. Remove any unpopped kernels you find.
- Enjoy! Once the kettle corn is completely cool, it’s ready to eat! Store any leftovers in an airtight container at room temperature.
Notes
- Use fresh popcorn kernels for best results.
- Don’t overcrowd the pot; stick to the 1/2 cup measurement.
- Adjust the sweetness to your liking by reducing the sugar slightly.
- Experiment with flavors like cinnamon, nutmeg, or chili powder.
- Watch the heat carefully to prevent burning.
- Clean your pot immediately after use.


Leave a Comment