
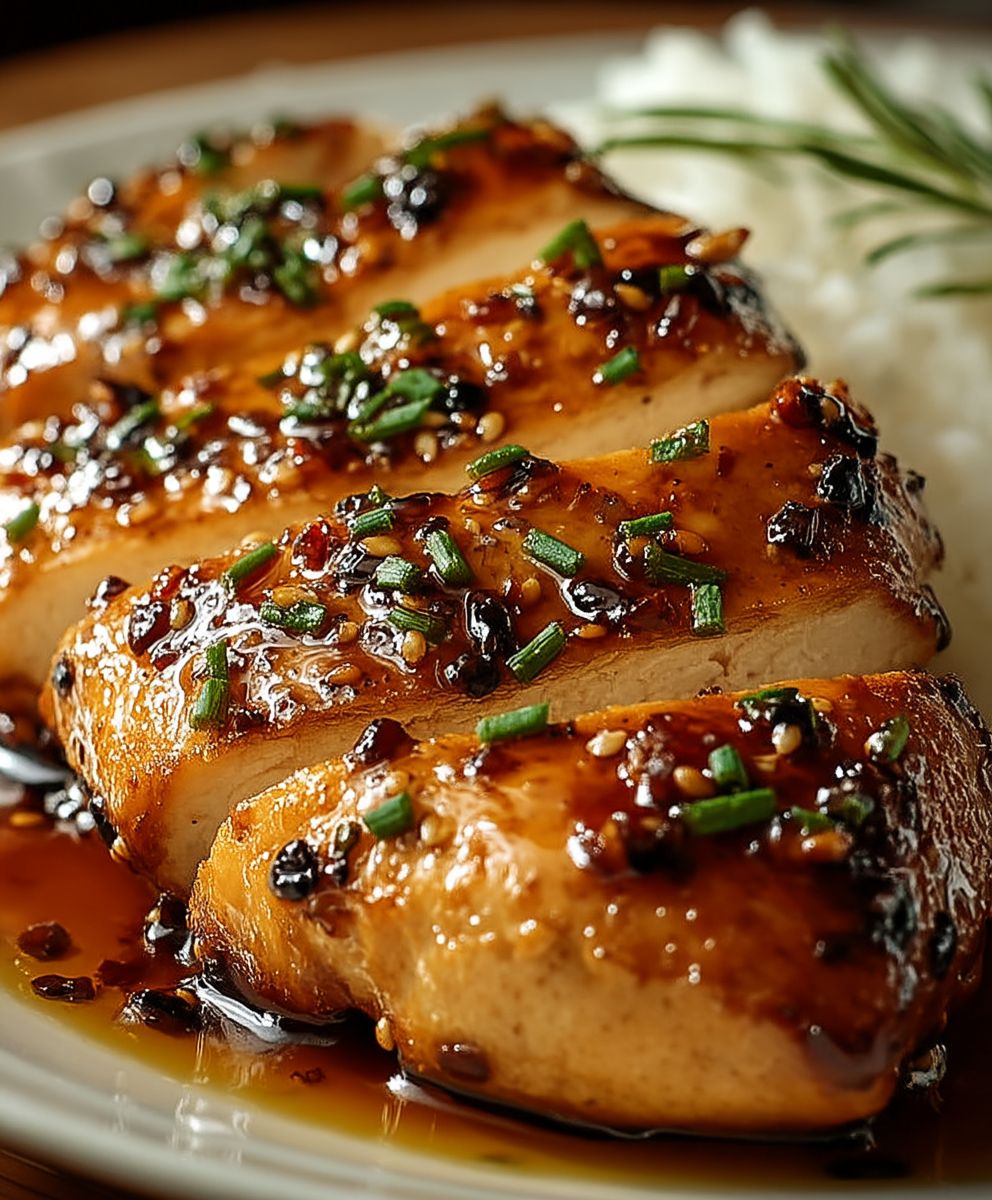
Honey garlic chicken, a dish that sings with sweet and savory harmony, is about to become your new weeknight hero. Imagine succulent chicken pieces, glistening with a rich, sticky glaze, infused with the pungent aroma of garlic and the golden sweetness of honey. Are you already drooling? I know I am! This isn’t just another chicken recipe; it’s a flavor explosion that will have everyone at the table asking for seconds.
While the exact origins of honey garlic chicken are difficult to pinpoint, the combination of honey and garlic has been used in various cuisines for centuries, prized for both its flavor and potential medicinal properties. In many Asian cultures, this pairing is a staple, often used to create glazes and marinades that add depth and complexity to meat dishes. This particular iteration, with its balance of sweetness, saltiness, and umami, has become a global favorite.
What makes this dish so irresistible? It’s the perfect marriage of flavors, of course! The sweetness of the honey beautifully complements the sharpness of the garlic, creating a taste sensation that is both comforting and exciting. The sticky glaze caramelizes in the oven or pan, creating a delightful texture that’s both crispy and tender. Plus, it’s incredibly easy to make! Whether you’re a seasoned chef or a kitchen novice, you can whip up this delicious meal in under an hour. Get ready to experience the magic of honey garlic chicken your taste buds will thank you!

Ingredients:
- For the Chicken:
- 2 lbs boneless, skinless chicken thighs, cut into 1-inch pieces
- 1/2 cup cornstarch
- 1/4 cup all-purpose flour
- 1 teaspoon salt
- 1/2 teaspoon black pepper
- 1/4 teaspoon garlic powder
- 1/4 teaspoon onion powder
- 1 large egg, beaten
- 2 tablespoons vegetable oil, for frying
- For the Honey Garlic Sauce:
- 1/2 cup honey
- 1/4 cup soy sauce (low sodium preferred)
- 1/4 cup water
- 4 cloves garlic, minced
- 1 tablespoon rice vinegar
- 1 tablespoon sesame oil
- 1 teaspoon cornstarch
- 1/2 teaspoon red pepper flakes (optional, for heat)
- For Garnish (Optional):
- Sesame seeds
- Chopped green onions
Preparing the Chicken:
- In a large bowl, combine the cornstarch, flour, salt, pepper, garlic powder, and onion powder. Make sure everything is well mixed. This is your dry coating for the chicken, and it’s important to get the seasoning right here!
- Add the beaten egg to another bowl. This will act as a binder, helping the dry coating adhere to the chicken.
- Dip each piece of chicken into the egg mixture, ensuring it’s fully coated. Let the excess egg drip off before moving to the next step.
- Transfer the egg-coated chicken to the bowl with the dry ingredients. Toss the chicken until each piece is evenly coated with the cornstarch mixture. Make sure there are no bare spots! This coating is what will give you that crispy texture we’re looking for.
Cooking the Chicken:
- Heat the vegetable oil in a large skillet or wok over medium-high heat. The oil should be hot enough to sizzle when you add a piece of chicken. Be careful not to overheat the oil, or it will burn the chicken before it cooks through.
- Carefully add the chicken pieces to the hot oil in a single layer. Avoid overcrowding the pan, as this will lower the oil temperature and result in soggy chicken. If necessary, cook the chicken in batches.
- Cook the chicken for about 5-7 minutes per side, or until it’s golden brown and cooked through. The internal temperature should reach 165°F (74°C). Use a meat thermometer to ensure doneness.
- Remove the cooked chicken from the skillet and place it on a wire rack lined with paper towels to drain excess oil. This will help keep the chicken crispy.
Making the Honey Garlic Sauce:
- In a medium saucepan, whisk together the honey, soy sauce, water, minced garlic, rice vinegar, sesame oil, cornstarch, and red pepper flakes (if using). Make sure the cornstarch is fully dissolved to prevent lumps in the sauce.
- Bring the sauce to a simmer over medium heat, stirring constantly. Continue to simmer for about 3-5 minutes, or until the sauce has thickened to your desired consistency. The sauce should be able to coat the back of a spoon.
- Taste the sauce and adjust the seasonings as needed. If you prefer a sweeter sauce, add a little more honey. If you want more tang, add a splash of rice vinegar. For a saltier sauce, add a dash of soy sauce.
Combining Chicken and Sauce:
- Add the cooked chicken to the saucepan with the honey garlic sauce.
- Toss the chicken to coat it evenly with the sauce. Make sure every piece is glistening with that delicious honey garlic glaze!
- Continue to cook the chicken in the sauce for another 1-2 minutes, allowing the sauce to further caramelize and cling to the chicken. Be careful not to overcook the chicken, or it will become dry.
Serving and Garnishing:
- Remove the honey garlic chicken from the heat and transfer it to a serving dish.
- Garnish with sesame seeds and chopped green onions, if desired. These add a nice visual appeal and a pop of flavor.
- Serve immediately over rice, noodles, or your favorite side dish. This dish is best enjoyed fresh, while the chicken is still crispy and the sauce is warm and sticky.
Tips and Variations:
Spice it Up:
If you like your honey garlic chicken with a kick, feel free to add more red pepper flakes to the sauce. You can also add a pinch of cayenne pepper or a dash of hot sauce.
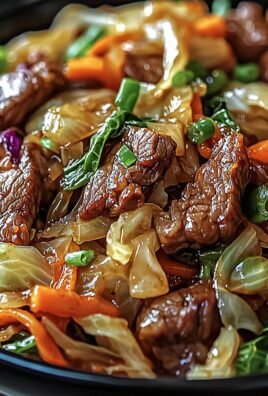
Add Vegetables:
For a more complete meal, you can add vegetables to the skillet along with the chicken. Broccoli florets, bell peppers, and snap peas are all great options. Simply stir-fry the vegetables until they’re tender-crisp before adding the chicken.
Use Chicken Breast:
If you prefer chicken breast over chicken thighs, you can certainly use it in this recipe. Just be sure to cut the chicken breast into 1-inch pieces and adjust the cooking time accordingly. Chicken breast tends to dry out more easily than chicken thighs, so be careful not to overcook it.
Make it Gluten-Free:
To make this recipe gluten-free, simply substitute the all-purpose flour with a gluten-free all-purpose flour blend. Also, make sure to use tamari instead of soy sauce, as tamari is a gluten-free alternative.
Make it in the Air Fryer:
For a healthier option, you can cook the chicken in the air fryer. Preheat your air fryer to 400°F (200°C). Place the coated chicken pieces in the air fryer basket in a single layer, making sure not to overcrowd it. Cook for 10-12 minutes, flipping halfway through, until the chicken is golden brown and cooked through. Then, toss the cooked chicken with the honey garlic sauce as directed.
Storage Instructions:
Store leftover honey garlic chicken in an airtight container in the refrigerator for up to 3-4 days. Reheat in the microwave or in a skillet over medium heat until warmed through. The chicken may lose some of its crispiness upon reheating, but it will still be delicious.
Serving Suggestions:
Honey garlic chicken is incredibly versatile and pairs well with a variety of side dishes. Here are a few suggestions:
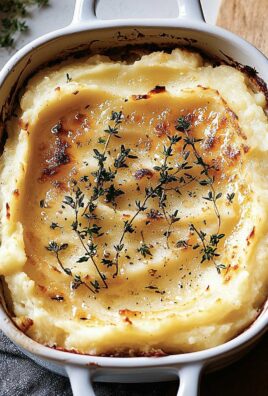
- Steamed rice
- Fried rice
- Noodles (such as lo mein or chow mein)
- Roasted vegetables
- Salad
Why this recipe works:
The key to this recipe is the balance of flavors. The sweetness of the honey is perfectly complemented by the savory soy sauce and garlic, creating a sauce that is both addictive and satisfying. The cornstarch coating on the chicken ensures that it stays crispy even after being tossed in the sauce. And the use of chicken thighs ensures that the chicken remains juicy and flavorful.
Troubleshooting:
Chicken is not crispy: Make sure the oil is hot enough before adding the chicken. Avoid overcrowding the pan, as this will lower the oil temperature. Also, make sure the chicken is fully coated with the cornstarch mixture.
Sauce is too thick: Add a little more water to thin it out.
Sauce is too thin: Simmer the sauce for a few more minutes to allow it to thicken.
Sauce is too sweet: Add a splash of rice vinegar or a dash of soy sauce to balance the sweetness.
Sauce is too salty: Add a little more honey or water to dilute the saltiness.
Conclusion:
This Honey Garlic Chicken recipe isn’t just another weeknight dinner; it’s a flavor explosion waiting to happen! The perfect balance of sweet honey, savory garlic, and tender chicken creates a dish that’s both comforting and exciting. I truly believe this is a must-try recipe for anyone looking to add a little magic to their mealtime routine.
Why is it a must-try? Because it’s incredibly easy to make, uses ingredients you likely already have in your pantry, and delivers restaurant-quality results without the restaurant price tag. Forget complicated recipes with endless steps; this one is streamlined for maximum flavor with minimal effort. Plus, the aroma that fills your kitchen while it’s cooking is simply divine! It’s a guaranteed crowd-pleaser, whether you’re cooking for your family, friends, or just yourself.
But the best part? It’s incredibly versatile! Serve it over fluffy white rice or quinoa for a complete and satisfying meal. For a lighter option, try pairing it with steamed broccoli, asparagus, or a fresh garden salad. You could even shred the chicken and use it as a filling for tacos or lettuce wraps. The possibilities are endless!
Looking for variations? I’ve got you covered! For a spicier kick, add a pinch of red pepper flakes or a dash of sriracha to the sauce. If you prefer a tangier flavor, a squeeze of lemon juice or a splash of rice vinegar will do the trick. You can also experiment with different herbs and spices, such as ginger, sesame seeds, or green onions, to customize the flavor to your liking. If you’re watching your sodium intake, use low-sodium soy sauce and adjust the honey to your preference.
And don’t be afraid to get creative with the cooking method! While I personally love pan-frying the chicken for that perfect golden-brown crust, you can also bake it in the oven for a healthier option. Simply preheat your oven to 375°F (190°C), place the chicken in a baking dish, and bake for 20-25 minutes, or until cooked through. You can even use an air fryer for a quicker and crispier result!
I’m so confident that you’ll love this Honey Garlic Chicken recipe that I can’t wait to hear about your experience. Seriously, give it a try! I poured my heart into perfecting this recipe, and I know you’ll appreciate the delicious results.
Once you’ve made it, please come back and share your thoughts in the comments below. Did you make any modifications? What did you serve it with? What did your family think? Your feedback is invaluable and helps me continue to create recipes that you’ll love.
So, what are you waiting for? Gather your ingredients, put on your apron, and get ready to create a culinary masterpiece. I promise, this Honey Garlic Chicken will become a staple in your recipe repertoire. Happy cooking!
Honey Garlic Chicken: The Ultimate Recipe Guide
Crispy, juicy chicken thighs coated in a sweet and savory honey garlic sauce. This easy recipe is perfect for a weeknight dinner and is sure to be a family favorite!
Ingredients
- 2 lbs boneless, skinless chicken thighs, cut into 1-inch pieces
- 1/2 cup cornstarch
- 1/4 cup all-purpose flour
- 1 teaspoon salt
- 1/2 teaspoon black pepper
- 1/4 teaspoon garlic powder
- 1/4 teaspoon onion powder
- 1 large egg, beaten
- 2 tablespoons vegetable oil, for frying
- 1/2 cup honey
- 1/4 cup soy sauce (low sodium preferred)
- 1/4 cup water
- 4 cloves garlic, minced
- 1 tablespoon rice vinegar
- 1 tablespoon sesame oil
- 1 teaspoon cornstarch
- 1/2 teaspoon red pepper flakes (optional, for heat)
- Sesame seeds
- Chopped green onions
Instructions
- In a large bowl, combine the cornstarch, flour, salt, pepper, garlic powder, and onion powder.
- Add the beaten egg to another bowl.
- Dip each piece of chicken into the egg mixture, ensuring it’s fully coated. Let the excess egg drip off.
- Transfer the egg-coated chicken to the bowl with the dry ingredients. Toss the chicken until each piece is evenly coated with the cornstarch mixture.
- Heat the vegetable oil in a large skillet or wok over medium-high heat.
- Carefully add the chicken pieces to the hot oil in a single layer. Avoid overcrowding the pan. If necessary, cook the chicken in batches.
- Cook the chicken for about 5-7 minutes per side, or until it’s golden brown and cooked through. The internal temperature should reach 165°F (74°C).
- Remove the cooked chicken from the skillet and place it on a wire rack lined with paper towels to drain excess oil.
- In a medium saucepan, whisk together the honey, soy sauce, water, minced garlic, rice vinegar, sesame oil, cornstarch, and red pepper flakes (if using).
- Bring the sauce to a simmer over medium heat, stirring constantly. Continue to simmer for about 3-5 minutes, or until the sauce has thickened to your desired consistency.
- Taste the sauce and adjust the seasonings as needed.
- Add the cooked chicken to the saucepan with the honey garlic sauce.
- Toss the chicken to coat it evenly with the sauce.
- Continue to cook the chicken in the sauce for another 1-2 minutes, allowing the sauce to further caramelize and cling to the chicken.
- Remove the honey garlic chicken from the heat and transfer it to a serving dish.
- Garnish with sesame seeds and chopped green onions, if desired.
- Serve immediately over rice, noodles, or your favorite side dish.
Notes
- Spice it Up: Add more red pepper flakes, cayenne pepper, or hot sauce for extra heat.
- Add Vegetables: Stir-fry broccoli, bell peppers, or snap peas before adding the chicken.
- Use Chicken Breast: Substitute chicken thighs with chicken breast, but adjust cooking time to avoid drying it out.
- Make it Gluten-Free: Use gluten-free all-purpose flour and tamari instead of soy sauce.
- Air Fryer Option: Cook the coated chicken in an air fryer at 400°F (200°C) for 10-12 minutes, flipping halfway through.
- Storage: Store leftovers in an airtight container in the refrigerator for up to 3-4 days.
- Serving Suggestions: Serve with steamed rice, fried rice, noodles, roasted vegetables, or salad.
- Chicken is not crispy: Make sure the oil is hot enough before adding the chicken. Avoid overcrowding the pan, as this will lower the oil temperature. Also, make sure the chicken is fully coated with the cornstarch mixture.
- Sauce is too thick: Add a little more water to thin it out.
- Sauce is too thin: Simmer the sauce for a few more minutes to allow it to thicken.
- Sauce is too sweet: Add a splash of rice vinegar or a dash of soy sauce to balance the sweetness.
- Sauce is too salty: Add a little more honey or water to dilute the saltiness.

Leave a Comment