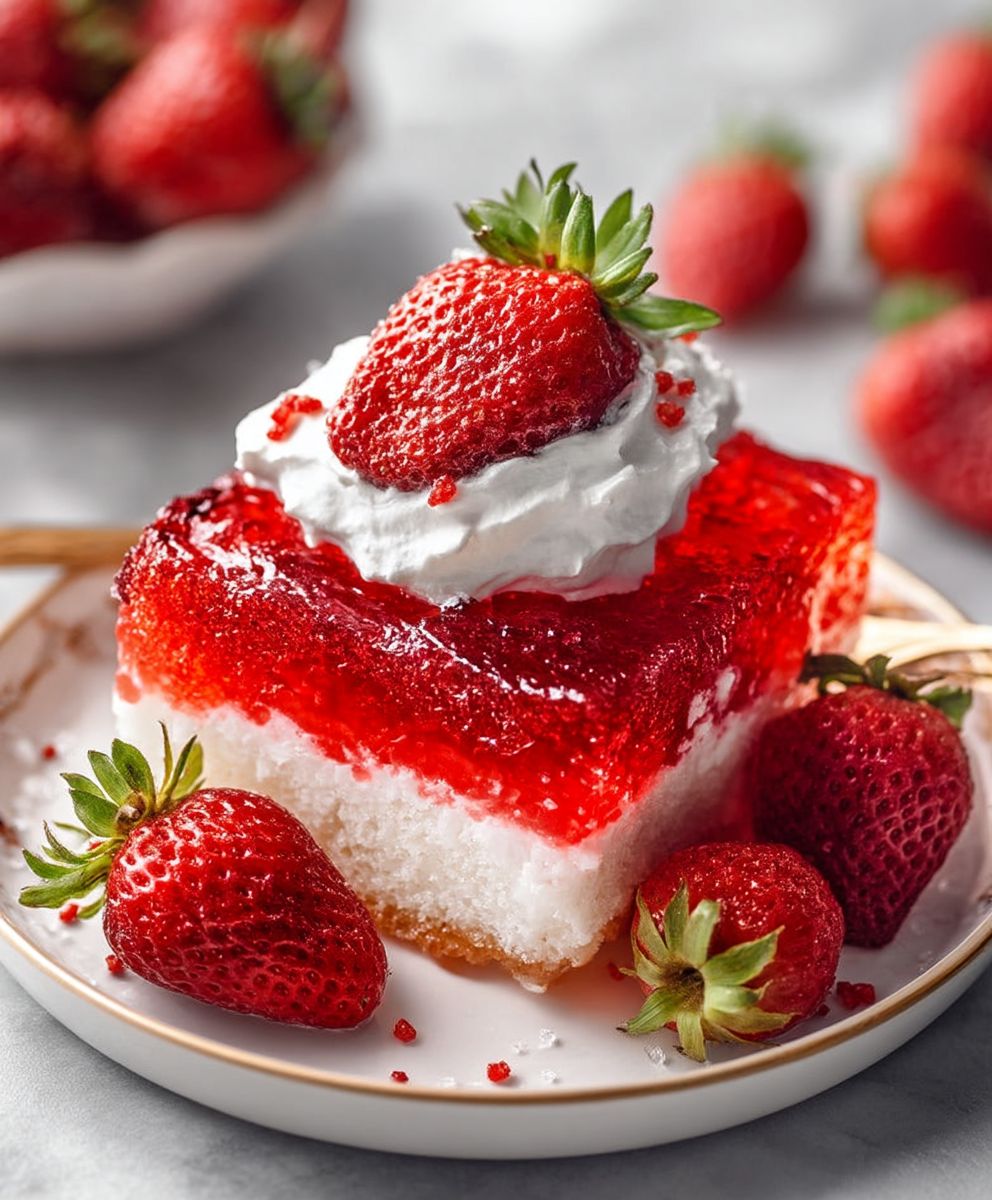
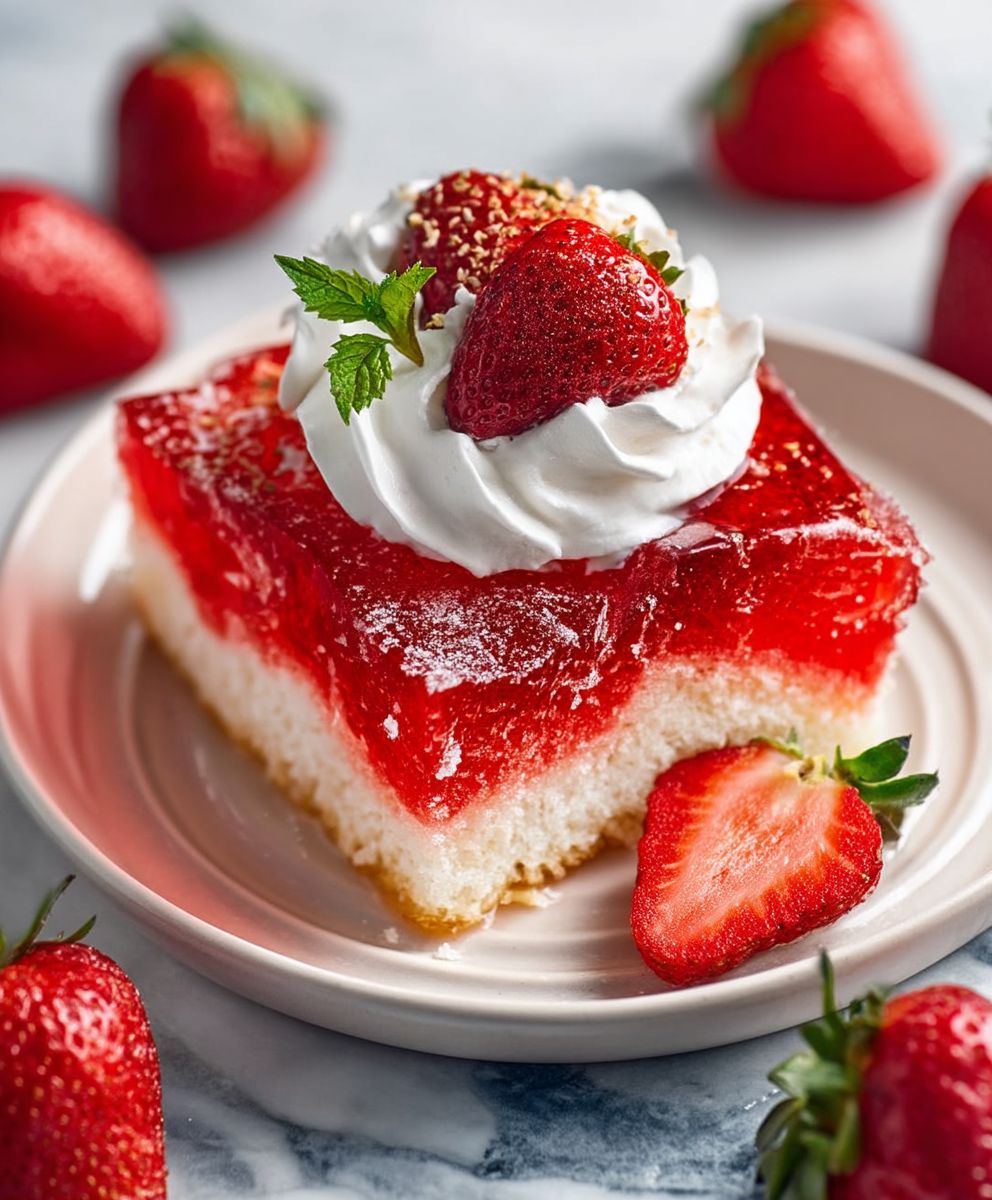
Jello Poke Cake: Prepare to be amazed by this vibrant and utterly irresistible dessert that’s as fun to make as it is to eat! Imagine a moist, tender cake riddled with colorful pockets of sweet, fruity Jell-O, topped with a cloud of whipped cream. It’s a nostalgic treat that brings back childhood memories and creates new ones with every slice.
While the exact origins of Jello Poke Cake are shrouded in a bit of mystery, it gained immense popularity in the mid-20th century, coinciding with the rise of convenience cooking and the widespread availability of Jell-O. It quickly became a potluck staple and a family favorite, prized for its simplicity and crowd-pleasing appeal. It’s a testament to the ingenuity of home cooks who sought creative ways to elevate simple ingredients into something extraordinary.
What makes this cake so beloved? It’s the delightful combination of textures the soft, yielding cake, the jiggly Jell-O, and the smooth, creamy topping. The burst of fruity flavor from the Jell-O is perfectly balanced by the sweetness of the cake and the richness of the whipped cream. Plus, it’s incredibly easy to customize with different Jell-O flavors and cake mixes, making it a versatile dessert for any occasion. Whether you’re looking for a show-stopping dessert for a party or a comforting treat for a cozy night in, Jello Poke Cake is always a winner!
Ingredients:
- 1 box (3 ounce) Jell-O gelatin, any flavor (I usually go for strawberry or raspberry!)
- 1 cup boiling water
- 1/2 cup cold water
- 1 box (15.25 ounce) white cake mix
- Ingredients called for on cake mix box (usually eggs, oil, and water)
- 1 container (8 ounce) frozen whipped topping, thawed (Cool Whip works great!)
- Optional: Sprinkles for decoration
Preparing the Cake:
- Preheat your oven according to the cake mix box instructions. This is usually around 350°F (175°C), but double-check to be sure!
- Prepare the cake batter. In a large bowl, combine the white cake mix with the ingredients listed on the box (usually eggs, oil, and water). Mix according to the box directions until smooth. Don’t overmix!
- Grease and flour a 9×13 inch baking pan. This will prevent the cake from sticking. You can also use baking spray if you prefer.
- Pour the batter into the prepared pan and spread evenly. Make sure the batter is distributed evenly so the cake bakes uniformly.
- Bake the cake according to the box instructions. Baking time usually ranges from 25 to 35 minutes, but it’s best to check for doneness using a toothpick. Insert a toothpick into the center of the cake; if it comes out clean or with just a few moist crumbs, the cake is done.
- Let the cake cool completely in the pan. This is crucial! If you poke the holes while the cake is still warm, it will crumble. I usually let it cool for at least an hour, or even longer if I have the time.
Making the Jell-O Mixture:
- In a medium bowl, dissolve the Jell-O gelatin in 1 cup of boiling water. Stir until the gelatin is completely dissolved. Make sure there are no granules left!
- Stir in 1/2 cup of cold water. This will help cool the Jell-O mixture down a bit.
Poking and Filling the Cake:
- Once the cake is completely cool, use the handle of a wooden spoon or a fork to poke holes all over the cake. The holes should be about 1 inch apart. Don’t be shy you want plenty of holes for the Jell-O to seep into! I find that using the back of a spoon handle works best to create nice, even holes.
- Slowly pour the Jell-O mixture over the cake, making sure to evenly distribute it into all the holes. Pour slowly to allow the Jell-O to soak into the cake. You might need to pour in stages, letting the Jell-O absorb before adding more.
- Cover the cake with plastic wrap and refrigerate for at least 3 hours, or preferably overnight. This allows the Jell-O to set completely and the cake to become nice and moist. The longer it chills, the better!
Frosting and Decorating:
- Once the Jell-O is set, spread the thawed whipped topping evenly over the cake. Make sure to cover the entire surface of the cake. You can use a spatula or a knife to spread it smoothly.
- If desired, sprinkle with sprinkles. This adds a festive touch! I love using rainbow sprinkles, but you can use any kind you like.
- Cut into squares and serve. Enjoy your delicious Jell-O Poke Cake!
Tips and Variations:
- Flavor Variations: Experiment with different Jell-O flavors to create unique combinations. For example, try lime Jell-O with a lemon cake mix, or orange Jell-O with a vanilla cake mix. The possibilities are endless!
- Cake Mix Options: While I usually use white cake mix, you can also use yellow cake mix or even chocolate cake mix for a richer flavor.
- Whipped Cream Alternative: If you prefer, you can use homemade whipped cream instead of Cool Whip. Just make sure to whip it to stiff peaks so it holds its shape.
- Fruit Toppings: Add fresh fruit on top of the whipped topping for extra flavor and visual appeal. Strawberries, raspberries, blueberries, and sliced peaches all work well.
- Layered Cake: For a more impressive presentation, you can make two 9-inch round cakes instead of one 9×13 inch cake. Poke holes in both layers and pour the Jell-O mixture over them. Then, stack the layers with whipped topping in between and on top.
- Dietary Considerations: To make this cake gluten-free, use a gluten-free cake mix. You can also find sugar-free Jell-O options to reduce the sugar content.
- Preventing a Soggy Cake: Ensure the cake is completely cool before poking holes and adding the Jell-O. This prevents the cake from becoming too soggy. Also, don’t over-saturate the cake with Jell-O; pour slowly and allow it to absorb.
- Using Different Poking Tools: While a wooden spoon handle or fork works well, you can also use a chopstick or even a clean skewer to poke the holes. Just make sure the holes are evenly spaced and deep enough for the Jell-O to seep in.
- Adding a Glaze: For an extra layer of flavor, consider adding a simple glaze on top of the whipped topping. A powdered sugar glaze with a touch of milk or lemon juice would be delicious.
- Freezing the Cake: While Jell-O Poke Cake is best served fresh, you can freeze it for later. Wrap it tightly in plastic wrap and then in aluminum foil. Thaw it in the refrigerator overnight before serving. Keep in mind that the texture of the whipped topping may change slightly after freezing.
- Making it Ahead: This cake is perfect for making ahead of time. You can bake the cake and prepare the Jell-O mixture a day in advance. Just make sure to store them separately until you’re ready to assemble the cake.
- Serving Suggestions: Jell-O Poke Cake is a great dessert for potlucks, parties, and picnics. It’s also a fun and easy dessert to make with kids.
- Adjusting Sweetness: If you find the cake too sweet, you can reduce the amount of sugar in the cake mix or use a sugar-free whipped topping.
- Adding Extracts: Enhance the flavor of the cake by adding a teaspoon of vanilla extract or almond extract to the cake batter.
- Using Different Jell-O Flavors Together: Get creative and use multiple Jell-O flavors for a colorful and layered effect. For example, you could use strawberry, lime, and blue raspberry Jell-O.
Troubleshooting:
- Cake is too dry: Make sure you are not overbaking the cake. Check for doneness with a toothpick and remove it from the oven as soon as it’s ready. You can also add a little extra oil or sour cream to the cake batter to make it more moist.
- Jell-O is not setting: Make sure you are using the correct amount of boiling water and cold water. Also, make sure you are refrigerating the cake for at least 3 hours, or preferably overnight.
- Whipped topping is melting: Make sure the cake is completely cool before adding the whipped topping. Also, keep the cake refrigerated until you are ready to serve it.
- Cake is sticking to the pan: Make sure you are greasing and flouring the pan properly. You can also use baking spray.
- Holes are collapsing: Ensure the cake is completely cooled before poking holes. If the cake is still warm, it will be too soft and the holes will collapse.
Nutritional Information (Approximate):
Please note that the nutritional information is an estimate and can vary depending on the specific ingredients used.
- Calories: 300-400 per serving
- Fat: 15-20g per serving
- Saturated Fat: 10-12g per serving
- Cholesterol: 50-70mg per serving
- Sodium: 200-300mg per serving
- Carbohydrates: 40-50g per serving
- Sugar: 30-40g per serving
- Protein:

Conclusion:
This Jello Poke Cake isn’t just a dessert; it’s a vibrant, nostalgic trip down memory lane with a modern twist! From the incredibly moist cake base to the shimmering, fruity Jello infusion and the creamy, dreamy topping, every bite is an explosion of flavor and texture. It’s the kind of dessert that disappears in minutes, leaving everyone wanting more. Trust me, once you make this, it will become a staple in your recipe repertoire.
Why is this a must-try? Because it’s ridiculously easy to make, even for novice bakers. The steps are straightforward, the ingredients are readily available, and the wow factor is off the charts. It’s perfect for potlucks, birthday parties, summer barbecues, or simply a sweet treat on a weeknight. Plus, it’s a guaranteed crowd-pleaser, appealing to both kids and adults alike. The bright colors and playful presentation make it visually stunning, adding a touch of fun to any occasion.
But the best part? It’s incredibly versatile! Feel free to experiment with different Jello flavors to create your own signature Jello Poke Cake. Strawberry and raspberry are classic combinations, but don’t be afraid to get creative with lime, orange, or even grape. You can also switch up the cake mix a lemon cake mix would pair beautifully with a berry-flavored Jello, while a chocolate cake mix would be divine with cherry or black cherry Jello.
For serving suggestions, consider adding fresh fruit to the top of the cake. Sliced strawberries, blueberries, raspberries, or even kiwi would add a burst of freshness and color. You could also sprinkle some shredded coconut or chopped nuts for added texture. And if you’re feeling extra indulgent, drizzle some chocolate syrup or caramel sauce over the top.
Looking for variations? How about a tropical version with pineapple Jello and shredded coconut? Or a patriotic version with red (strawberry), white (whipped cream), and blue (blue raspberry) Jello for the Fourth of July? The possibilities are endless! You can even use sugar-free Jello and a sugar-free cake mix to make a lighter version.
I truly believe this Jello Poke Cake recipe is a winner. It’s simple, delicious, and endlessly customizable. It’s the perfect dessert to bring a smile to everyone’s face.
So, what are you waiting for? Gather your ingredients, preheat your oven, and get ready to create a dessert masterpiece! I’m confident that you’ll love this recipe as much as I do.
And most importantly, I want to hear about your experience! Did you try a different Jello flavor? Did you add any special toppings? Did you make any modifications to the recipe? Share your photos and stories in the comments below. I can’t wait to see your creations and hear about your adventures in Jello Poke Cake making! Let’s spread the joy of this delightful dessert far and wide! Happy baking!
Jello Poke Cake: The Ultimate Guide to a Perfect Dessert
A fun and colorful Jell-O Poke Cake made with white cake mix, your favorite Jell-O flavor, and topped with whipped cream and sprinkles. A perfect dessert for parties and potlucks!
Ingredients
- 1 box (3 ounce) Jell-O gelatin, any flavor (strawberry or raspberry recommended)
- 1 cup boiling water
- 1/2 cup cold water
- 1 box (15.25 ounce) white cake mix
- Ingredients called for on cake mix box (usually eggs, oil, and water)
- 1 container (8 ounce) frozen whipped topping, thawed (Cool Whip works great!)
- Optional: Sprinkles for decoration
Instructions
- Preheat oven according to cake mix box instructions (usually 350°F/175°C).
- Combine cake mix with ingredients listed on the box in a large bowl. Mix until smooth.
- Grease and flour a 9×13 inch baking pan.
- Pour batter into the prepared pan and spread evenly.
- Bake cake according to box instructions (usually 25-35 minutes). Check for doneness with a toothpick.
- Let the cake cool completely in the pan (at least 1 hour).
- In a medium bowl, dissolve Jell-O gelatin in 1 cup of boiling water. Stir until completely dissolved.
- Stir in 1/2 cup of cold water.
- Once the cake is completely cool, use the handle of a wooden spoon or a fork to poke holes all over the cake (about 1 inch apart).
- Slowly pour the Jell-O mixture over the cake, making sure to evenly distribute it into all the holes.
- Cover the cake with plastic wrap and refrigerate for at least 3 hours, or preferably overnight.
- Once the Jell-O is set, spread the thawed whipped topping evenly over the cake.
- If desired, sprinkle with sprinkles.
- Cut into squares and serve.
Notes
- Flavor Variations: Experiment with different Jell-O flavors and cake mix options.
- Whipped Cream Alternative: Use homemade whipped cream instead of Cool Whip.
- Fruit Toppings: Add fresh fruit on top of the whipped topping.
- Preventing a Soggy Cake: Ensure the cake is completely cool before poking holes and adding the Jell-O.
- Make Ahead: This cake is perfect for making ahead of time.
- Storage: Store in the refrigerator.


Leave a Comment