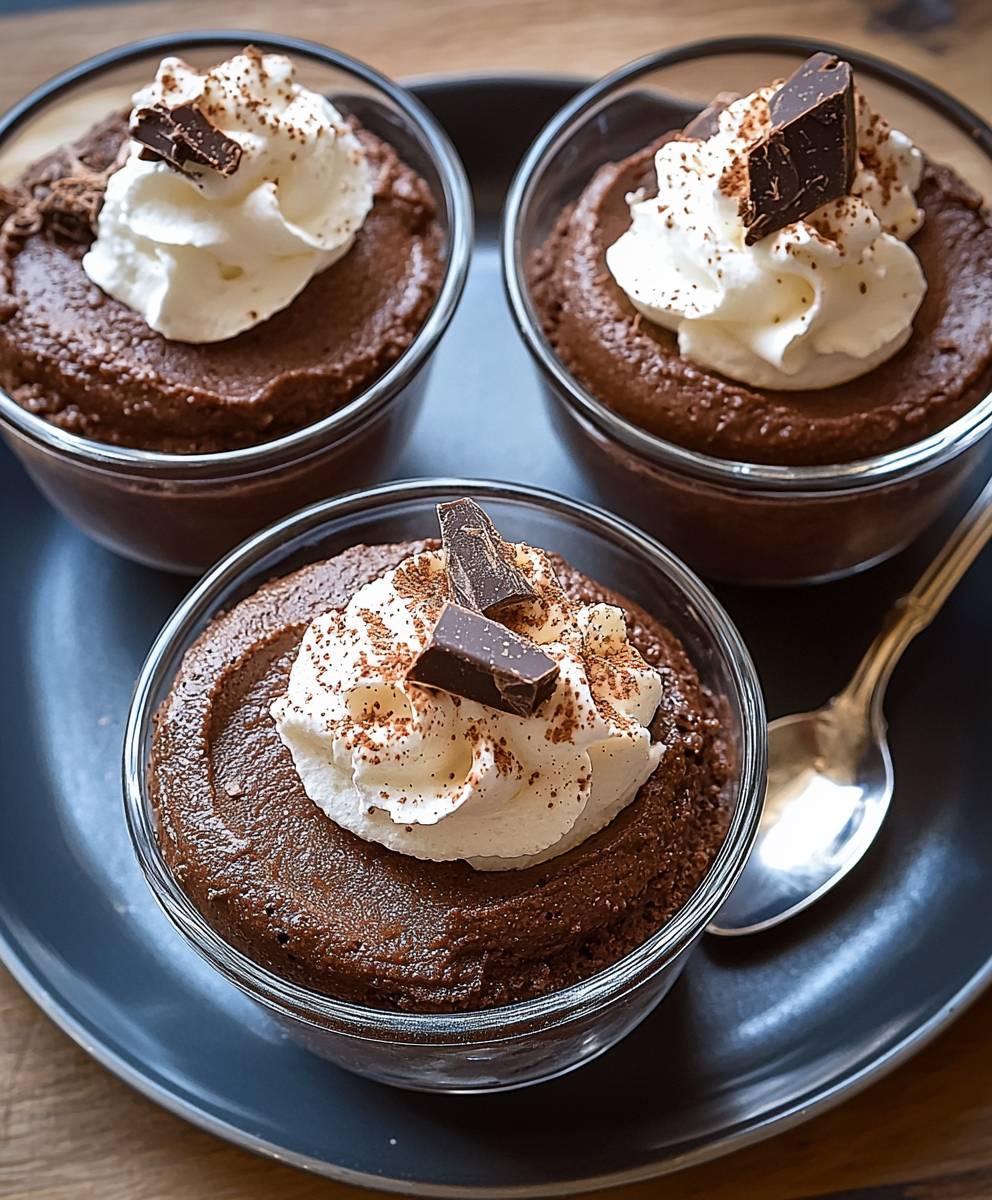
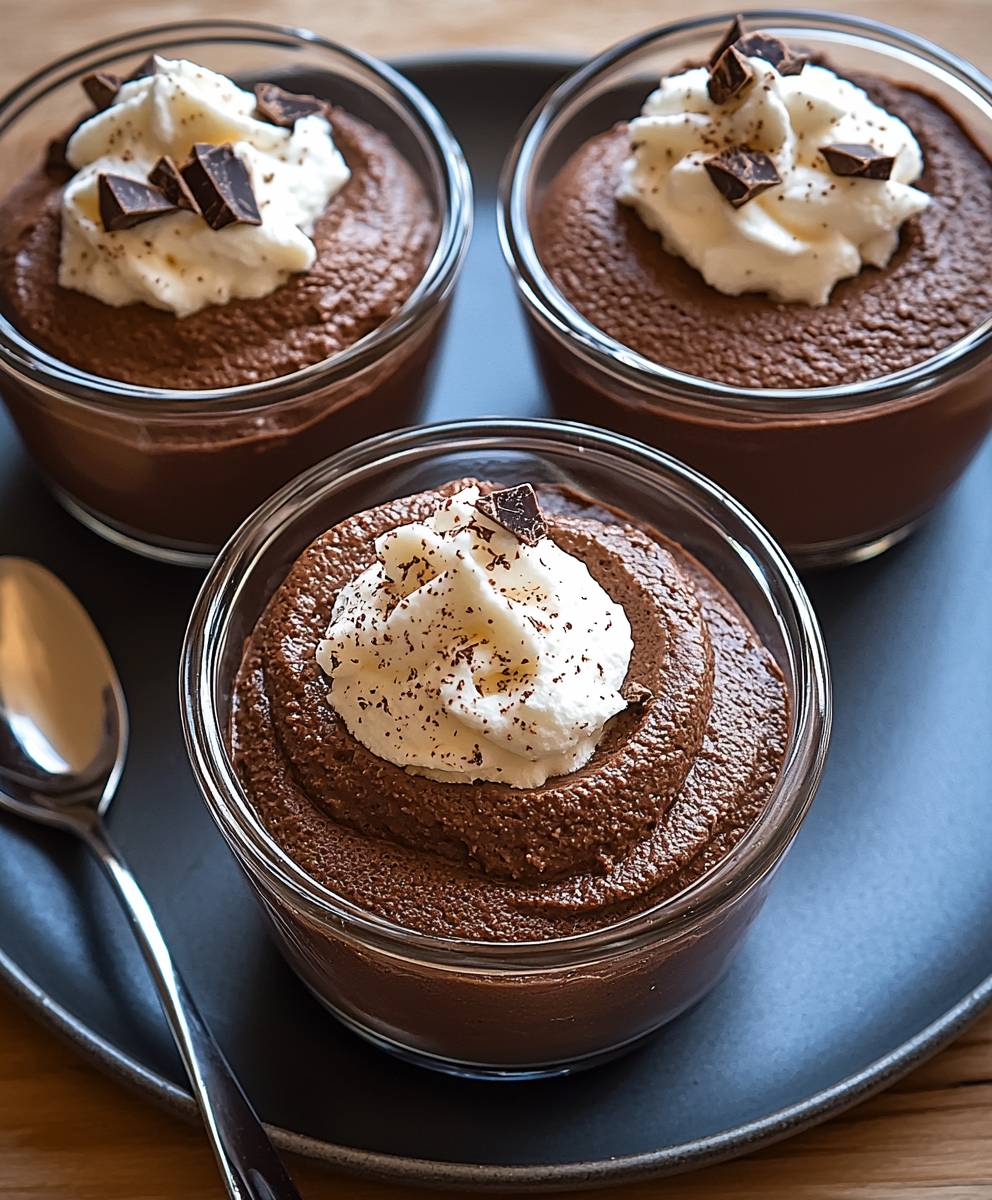
Keto Chocolate Mousse: Indulge in decadent chocolate bliss without the guilt! Imagine a dessert so rich and creamy, it melts in your mouth, leaving you utterly satisfied. Now, imagine that same dessert is perfectly aligned with your ketogenic lifestyle. Sounds too good to be true? It’s not! This recipe delivers all the luxurious flavor and texture of traditional chocolate mousse, but with a fraction of the carbs.
Chocolate mousse, a classic dessert originating from France, has been a symbol of elegance and indulgence for centuries. While traditionally made with sugar and cream, our keto chocolate mousse recipe reimagines this timeless treat for the modern, health-conscious palate. We’ve swapped out the sugar for keto-friendly sweeteners and embraced the richness of healthy fats to create a dessert that’s both satisfying and supportive of your dietary goals.
People adore chocolate mousse for its incredibly smooth texture, intense chocolate flavor, and the sheer pleasure it brings with every spoonful. This keto version captures all of that magic, offering a delightful treat that won’t derail your progress. Whether you’re looking for a show-stopping dessert to impress guests or a simple, satisfying treat to enjoy after a long day, this recipe is sure to become a new favorite. Get ready to experience the ultimate keto-friendly indulgence!
Ingredients:
- 1 cup heavy cream, cold
- 4 ounces unsweetened chocolate, melted and cooled slightly
- 1/4 cup erythritol or your preferred keto-friendly sweetener
- 1 teaspoon vanilla extract
- 1/4 teaspoon salt
- 2 large egg yolks, room temperature
- Optional: Sugar-free chocolate shavings for garnish
Preparing the Chocolate Base
- Melt the Chocolate: The first step is to melt your unsweetened chocolate. I like to use a double boiler for this, as it provides gentle and even heat, preventing the chocolate from burning. If you don’t have a double boiler, you can create one by placing a heat-safe bowl over a saucepan of simmering water, ensuring the bottom of the bowl doesn’t touch the water. Stir the chocolate frequently until it’s completely melted and smooth. Alternatively, you can microwave the chocolate in 30-second intervals, stirring in between each interval, until melted. Be very careful not to overheat it! Once melted, let the chocolate cool slightly. This is crucial because adding hot chocolate to the egg yolks can cook them, which we definitely want to avoid.
- Prepare the Egg Yolks: In a separate bowl, whisk the egg yolks with the erythritol (or your chosen sweetener) and salt until the mixture becomes pale yellow and slightly thickened. This usually takes about 2-3 minutes of vigorous whisking. The goal here is to incorporate air into the yolks, which will contribute to the mousse’s light and airy texture. The sweetener also helps to break down the yolks and prevent them from scrambling when the warm chocolate is added.
- Temper the Egg Yolks: This is a critical step to ensure the mousse is smooth and safe to eat. Slowly drizzle a small amount of the slightly cooled melted chocolate into the egg yolk mixture while continuously whisking. This gradually raises the temperature of the yolks, preventing them from cooking abruptly when the rest of the chocolate is added. Continue adding the chocolate in a slow, steady stream, whisking constantly until all the chocolate is incorporated and the mixture is smooth and homogenous.
Whipping the Cream
- Chill Your Equipment: Before you start whipping the cream, make sure your bowl and whisk (or the bowl and whisk attachment of your stand mixer) are thoroughly chilled. This helps the cream whip up faster and hold its shape better. You can place them in the freezer for about 15-20 minutes before you begin. Cold equipment is key to achieving stiff peaks.
- Whip the Cream: Pour the cold heavy cream into the chilled bowl. Using a whisk or an electric mixer, begin whipping the cream on medium speed. As the cream whips, it will start to thicken. Continue whipping until stiff peaks form. Stiff peaks mean that when you lift the whisk or mixer, the peaks of the cream stand straight up without collapsing. Be careful not to overwhip the cream, as it can turn into butter.
- Add Vanilla Extract: Once the cream has reached stiff peaks, gently fold in the vanilla extract. This adds a lovely aroma and enhances the overall flavor of the mousse. Be careful not to deflate the cream while folding in the vanilla.
Combining and Chilling
- Gently Fold: Now comes the delicate part combining the chocolate mixture with the whipped cream. This is where you need to be gentle to maintain the airy texture of the mousse. Add a spoonful of the whipped cream to the chocolate mixture and fold it in to lighten the chocolate. Then, gently fold the chocolate mixture into the remaining whipped cream in two or three additions. Use a spatula and fold from the bottom up, being careful not to overmix. Overmixing will deflate the cream and result in a dense mousse.
- Portion and Chill: Once the chocolate and cream are fully incorporated, divide the mousse evenly among individual serving dishes or ramekins. I usually get about 4-6 servings from this recipe, depending on the size of the dishes. Cover the dishes with plastic wrap, pressing it gently against the surface of the mousse to prevent a skin from forming.
- Chill Thoroughly: Place the mousse in the refrigerator and chill for at least 2-3 hours, or preferably overnight. This allows the mousse to set properly and the flavors to meld together. The longer it chills, the better the texture will be.
Serving and Garnishing
- Garnish (Optional): Before serving, you can garnish the mousse with sugar-free chocolate shavings, a dollop of whipped cream, or a few fresh berries. This adds a touch of elegance and visual appeal.
- Serve Cold: Serve the mousse chilled. The cold temperature enhances the creamy texture and rich chocolate flavor.
- Enjoy! This Keto Chocolate Mousse is a decadent and satisfying dessert that’s perfect for any occasion. It’s rich, creamy, and intensely chocolatey, without all the added sugar. Enjoy every spoonful!

Conclusion:
This Keto Chocolate Mousse isn’t just another dessert recipe; it’s a decadent, guilt-free indulgence that will redefine your perception of keto-friendly treats. I truly believe you’ll be amazed by how rich and satisfying it is, especially considering it’s packed with healthy fats and minimal carbs. It’s the perfect way to end a meal, satisfy a chocolate craving, or simply treat yourself without derailing your dietary goals. Why is this a must-try? Well, beyond the obvious chocolatey goodness, it’s incredibly easy to make. We’re talking minimal ingredients and a simple process that even a novice baker can master. Forget complicated recipes with obscure ingredients; this mousse uses readily available items, making it a convenient and accessible option for anyone following a ketogenic lifestyle, or even those just looking for a healthier dessert alternative. The texture is divine light, airy, and melt-in-your-mouth smooth. It’s a far cry from some of the grainy or overly dense keto desserts you might have encountered. Plus, it’s incredibly versatile! Looking for serving suggestions? I love to top mine with a dollop of unsweetened whipped cream and a sprinkle of cocoa powder for an extra touch of elegance. You could also add a few fresh raspberries or strawberries for a burst of fruity flavor that complements the rich chocolate beautifully. For a bit of crunch, consider adding some chopped pecans or walnuts. And if you’re feeling adventurous, a pinch of sea salt can really enhance the chocolate flavor and create a delightful sweet-and-salty contrast. But the variations don’t stop there! Want to add a hint of coffee? Stir in a teaspoon of instant espresso powder for a mocha-inspired mousse. Craving something a little more decadent? Drizzle some melted dark chocolate (keto-friendly, of course!) over the top. You could even layer the mousse with some keto-friendly brownie crumbles for a truly indulgent parfait. The possibilities are endless! Feel free to experiment and find your perfect combination. I’ve poured my heart into perfecting this recipe, and I’m confident that you’ll love it as much as I do. It’s a game-changer for anyone on a keto diet who misses the simple pleasure of a truly satisfying dessert. It’s also a fantastic option for those with dietary restrictions or anyone simply looking for a healthier way to enjoy chocolate. So, what are you waiting for? Gather your ingredients, follow the simple steps, and prepare to be amazed by this incredible Keto Chocolate Mousse. I promise, you won’t be disappointed. And most importantly, I’d love to hear about your experience! Once you’ve tried the recipe, please come back and leave a comment below. Let me know what you thought, what variations you tried, and any tips or tricks you discovered along the way. Your feedback is invaluable, and it helps me to continue creating and sharing delicious, keto-friendly recipes that everyone can enjoy. Share your photos on social media too and tag me! I can’t wait to see your creations and hear your stories. Happy mousse-making! PrintKeto Chocolate Mousse: The Ultimate Guide to Delicious & Healthy Dessert
Rich, decadent, and intensely chocolatey keto chocolate mousse that’s easy to make and sugar-free!
- Prep Time: 15 minutes
- Cook Time: 5 minutes
- Total Time: 140 minutes
- Yield: 4–6 servings 1x
Ingredients
- 1 cup heavy cream, cold
- 4 ounces unsweetened chocolate, melted and cooled slightly
- 1/4 cup erythritol or your preferred keto-friendly sweetener
- 1 teaspoon vanilla extract
- 1/4 teaspoon salt
- 2 large egg yolks, room temperature
- Optional: Sugar-free chocolate shavings for garnish
Instructions
- Melt unsweetened chocolate using a double boiler or microwave in 30-second intervals, stirring in between, until melted and smooth. Let cool slightly.
- In a separate bowl, whisk the egg yolks with the erythritol (or your chosen sweetener) and salt until the mixture becomes pale yellow and slightly thickened (2-3 minutes).
- Slowly drizzle a small amount of the cooled melted chocolate into the egg yolk mixture while continuously whisking. Continue adding the chocolate in a slow, steady stream, whisking constantly until all the chocolate is incorporated and the mixture is smooth and homogenous.
- Chill your bowl and whisk (or the bowl and whisk attachment of your stand mixer) in the freezer for about 15-20 minutes before you begin.
- Pour the cold heavy cream into the chilled bowl. Using a whisk or an electric mixer, begin whipping the cream on medium speed. As the cream whips, it will start to thicken. Continue whipping until stiff peaks form. Be careful not to overwhip the cream, as it can turn into butter.
- Once the cream has reached stiff peaks, gently fold in the vanilla extract. Be careful not to deflate the cream while folding in the vanilla.
- Add a spoonful of the whipped cream to the chocolate mixture and fold it in to lighten the chocolate. Then, gently fold the chocolate mixture into the remaining whipped cream in two or three additions. Use a spatula and fold from the bottom up, being careful not to overmix.
- Divide the mousse evenly among individual serving dishes or ramekins. Cover the dishes with plastic wrap, pressing it gently against the surface of the mousse to prevent a skin from forming.
- Place the mousse in the refrigerator and chill for at least 2-3 hours, or preferably overnight.
- Before serving, you can garnish the mousse with sugar-free chocolate shavings, a dollop of whipped cream, or a few fresh berries.
- Serve the mousse chilled.
- Enjoy!
Notes
- Cooling the chocolate slightly before adding it to the egg yolks is crucial to prevent the yolks from cooking.
- Chilling your bowl and whisk before whipping the cream helps it whip up faster and hold its shape better.
- Be gentle when folding the chocolate mixture into the whipped cream to maintain the airy texture of the mousse.
- Chilling the mousse for at least 2-3 hours, or preferably overnight, allows it to set properly and the flavors to meld together.


Leave a Comment