
Lemon Mascarpone Tart: Prepare to be transported to a sun-drenched Italian villa with every single bite! This isn’t just a dessert; it’s an experience. Imagine a buttery, crumbly crust cradling a luscious, creamy filling bursting with bright, tangy lemon and the subtle sweetness of mascarpone cheese. It’s a symphony of flavors and textures that will leave you craving more.
While the exact origins of combining lemon and creamy cheese in a tart are somewhat shrouded in culinary history, the use of mascarpone, a distinctly Italian cheese, suggests a strong connection to Italian baking traditions. Mascarpone, known for its rich, velvety texture, has been a staple in Italian desserts for centuries, lending its luxuriousness to everything from tiramisu to cheesecakes. The addition of lemon, a fruit beloved throughout the Mediterranean for its refreshing zest, creates a harmonious balance that is both decadent and invigorating.
People adore this lemon mascarpone tart for its delightful simplicity and impressive flavor profile. It’s the perfect dessert for any occasion, from an elegant dinner party to a casual afternoon tea. The combination of the crisp crust, the smooth, tangy filling, and the bright citrus notes is simply irresistible. Plus, it’s surprisingly easy to make, making it a winner in my book! Who doesn’t love a dessert that tastes like it took hours to create but is actually quite manageable? Get ready to impress your friends and family with this show-stopping tart!

Ingredients:
- For the Crust:
- 1 ½ cups all-purpose flour
- ½ cup (1 stick) unsalted butter, cold and cubed
- ¼ cup granulated sugar
- ¼ teaspoon salt
- 4-6 tablespoons ice water
- For the Lemon Mascarpone Filling:
- 8 ounces mascarpone cheese, softened
- 1 cup heavy cream
- ¾ cup granulated sugar
- ¼ cup fresh lemon juice (from about 2 lemons)
- 2 tablespoons lemon zest (from about 2 lemons)
- 1 teaspoon vanilla extract
- Pinch of salt
- For the Optional Topping:
- Fresh berries (strawberries, raspberries, blueberries)
- Powdered sugar, for dusting
- Lemon slices, for garnish
Preparing the Crust:
- Combine Dry Ingredients: In a large bowl, whisk together the flour, sugar, and salt. This ensures the salt and sugar are evenly distributed throughout the flour, which is crucial for a consistent crust.
- Cut in the Butter: Add the cold, cubed butter to the flour mixture. Using a pastry blender or your fingertips (work quickly to prevent the butter from melting), cut the butter into the flour until the mixture resembles coarse crumbs. You should still see small pieces of butter throughout these are what create flaky layers in the crust.
- Add Ice Water: Gradually add the ice water, one tablespoon at a time, mixing gently after each addition. The amount of water needed will vary depending on the humidity and the flour you’re using. Stop adding water when the dough just comes together and is slightly moist but not sticky. Be careful not to overwork the dough, as this will develop the gluten and result in a tough crust.
- Form the Dough: Gently gather the dough into a ball. Flatten it into a disc, wrap it tightly in plastic wrap, and refrigerate for at least 30 minutes, or up to 2 hours. This chilling time allows the gluten to relax, making the dough easier to roll out and preventing it from shrinking during baking.
- Roll Out the Dough: On a lightly floured surface, roll out the dough into a 12-inch circle. The dough should be about 1/8 inch thick. If the dough is sticking, add a little more flour to the surface.
- Transfer to Tart Pan: Carefully transfer the rolled-out dough to a 9-inch tart pan with a removable bottom. Gently press the dough into the bottom and up the sides of the pan. Make sure the dough is evenly distributed and there are no air pockets.
- Trim and Crimp the Edges: Trim any excess dough from the edges of the pan. You can use a rolling pin to roll over the top of the pan, or simply trim with a knife. Crimp the edges of the crust using a fork or your fingers to create a decorative border. This not only looks nice but also helps to prevent the crust from shrinking during baking.
- Pre-Bake the Crust: Preheat your oven to 375°F (190°C). Line the crust with parchment paper and fill it with pie weights or dried beans. This will prevent the crust from puffing up during baking. Bake for 15-20 minutes, or until the edges are lightly golden brown.
- Remove Weights and Bake Further: Remove the parchment paper and pie weights. Return the crust to the oven and bake for another 5-10 minutes, or until the bottom of the crust is golden brown. This ensures the crust is fully cooked and won’t be soggy when you add the filling.
- Cool Completely: Let the crust cool completely in the tart pan before adding the filling. This is important to prevent the filling from melting or softening the crust.
Preparing the Lemon Mascarpone Filling:
- Soften Mascarpone Cheese: Make sure your mascarpone cheese is softened to room temperature. This will ensure a smooth and creamy filling. If the mascarpone is too cold, it will be difficult to mix and may result in a lumpy filling.
- Whip Heavy Cream: In a large bowl, whip the heavy cream until stiff peaks form. Be careful not to overwhip the cream, as it can turn into butter. Stiff peaks mean the cream holds its shape when you lift the whisk or beaters.
- Combine Mascarpone and Sugar: In a separate bowl, beat the softened mascarpone cheese with the granulated sugar until smooth and creamy. Make sure the sugar is fully incorporated into the mascarpone.
- Add Lemon Juice, Zest, Vanilla, and Salt: Add the fresh lemon juice, lemon zest, vanilla extract, and salt to the mascarpone mixture. Mix until well combined. The lemon juice will add a tangy flavor, while the lemon zest will enhance the lemon aroma. The vanilla extract adds a touch of sweetness and complexity, and the salt balances the flavors.
- Fold in Whipped Cream: Gently fold the whipped cream into the mascarpone mixture until just combined. Be careful not to overmix, as this will deflate the whipped cream and result in a less airy filling. The goal is to create a light and fluffy filling.
Assembling the Tart:
- Pour Filling into Crust: Pour the lemon mascarpone filling into the cooled tart crust. Spread the filling evenly to create a smooth surface.
- Chill the Tart: Cover the tart with plastic wrap and refrigerate for at least 2 hours, or preferably overnight. This allows the filling to set completely and the flavors to meld together. Chilling also makes the tart easier to slice and serve.
- Garnish (Optional): Before serving, garnish the tart with fresh berries, a dusting of powdered sugar, and lemon slices, if desired. The fresh berries add a pop of color and sweetness, while the powdered sugar adds a touch of elegance. The lemon slices reinforce the lemon flavor and make the tart visually appealing.
- Slice and Serve: Carefully remove the tart from the tart pan by lifting it from the bottom. Slice the tart into wedges and serve immediately. Enjoy!
Tips for Success:
- Use Cold Ingredients: For the best crust, use cold butter and ice water. This will help to prevent the butter from melting and create flaky layers.
- Don’t Overwork the Dough: Overworking the dough will develop the gluten and result in a tough crust. Mix the dough just until it comes together.
- Pre-Bake the Crust: Pre-baking the crust will prevent it from becoming soggy when you add the filling.
- Use Fresh Lemon Juice and Zest: Fresh lemon juice and zest will provide the best flavor for the filling.
- Chill the Tart: Chilling the tart allows the filling to set completely and the flavors to meld together.
Conclusion:
This Lemon Mascarpone Tart isn’t just a dessert; it’s an experience. The bright, zesty lemon curd perfectly complements the creamy, rich mascarpone, all nestled in a buttery, melt-in-your-mouth crust. It’s a symphony of textures and flavors that will leave you and your guests wanting more. I truly believe this tart deserves a place on your baking repertoire, not just for its impressive presentation, but for its incredibly satisfying taste. Why is this a must-try? Because it’s surprisingly easy to make! Don’t let the fancy name intimidate you. The steps are straightforward, and the reward is immense. It’s the perfect dessert to impress at a dinner party, bring to a potluck, or simply enjoy on a quiet afternoon with a cup of tea. Its a guaranteed crowd-pleaser, and honestly, Ive never met anyone who hasnt fallen in love with its tangy sweetness. Plus, the vibrant yellow color is just so cheerful! Looking for serving suggestions? A dollop of freshly whipped cream or a scoop of vanilla bean ice cream elevates this tart to another level of indulgence. A sprinkle of fresh berries, like raspberries or blueberries, adds a pop of color and a burst of fruity flavor that complements the lemon beautifully. For a more sophisticated touch, consider garnishing with candied lemon peel or a dusting of powdered sugar. But the fun doesn’t stop there! Feel free to experiment with variations to make this tart your own. If you’re a fan of citrus, try adding a touch of lime or orange zest to the curd for a more complex flavor profile. For a nuttier crust, incorporate some finely ground almonds or pecans into the dough. And if you’re feeling adventurous, you could even try making individual tartlets instead of one large tart. Another variation I love is adding a layer of raspberry jam between the crust and the mascarpone filling. The tartness of the raspberries cuts through the richness of the mascarpone and adds a beautiful visual element. You could also swirl some lemon curd into the mascarpone filling for an even more intense lemon flavor. The possibilities are endless! I’m so excited for you to try this recipe and experience the magic of the Lemon Mascarpone Tart for yourself. It’s a dessert that’s sure to become a new favorite. I poured my heart into perfecting this recipe, and I truly believe it’s something special. So, go ahead, gather your ingredients, and get baking! I promise you won’t regret it. And when you do, please, please, please share your experience with me! I’d love to hear what you think, what variations you tried, and how much everyone enjoyed it. You can leave a comment below, tag me on social media, or even send me an email. I’m always eager to hear from fellow baking enthusiasts. Happy baking, and enjoy every delicious bite! I can’t wait to see your creations! PrintLemon Mascarpone Tart: A Deliciously Tangy Dessert Recipe

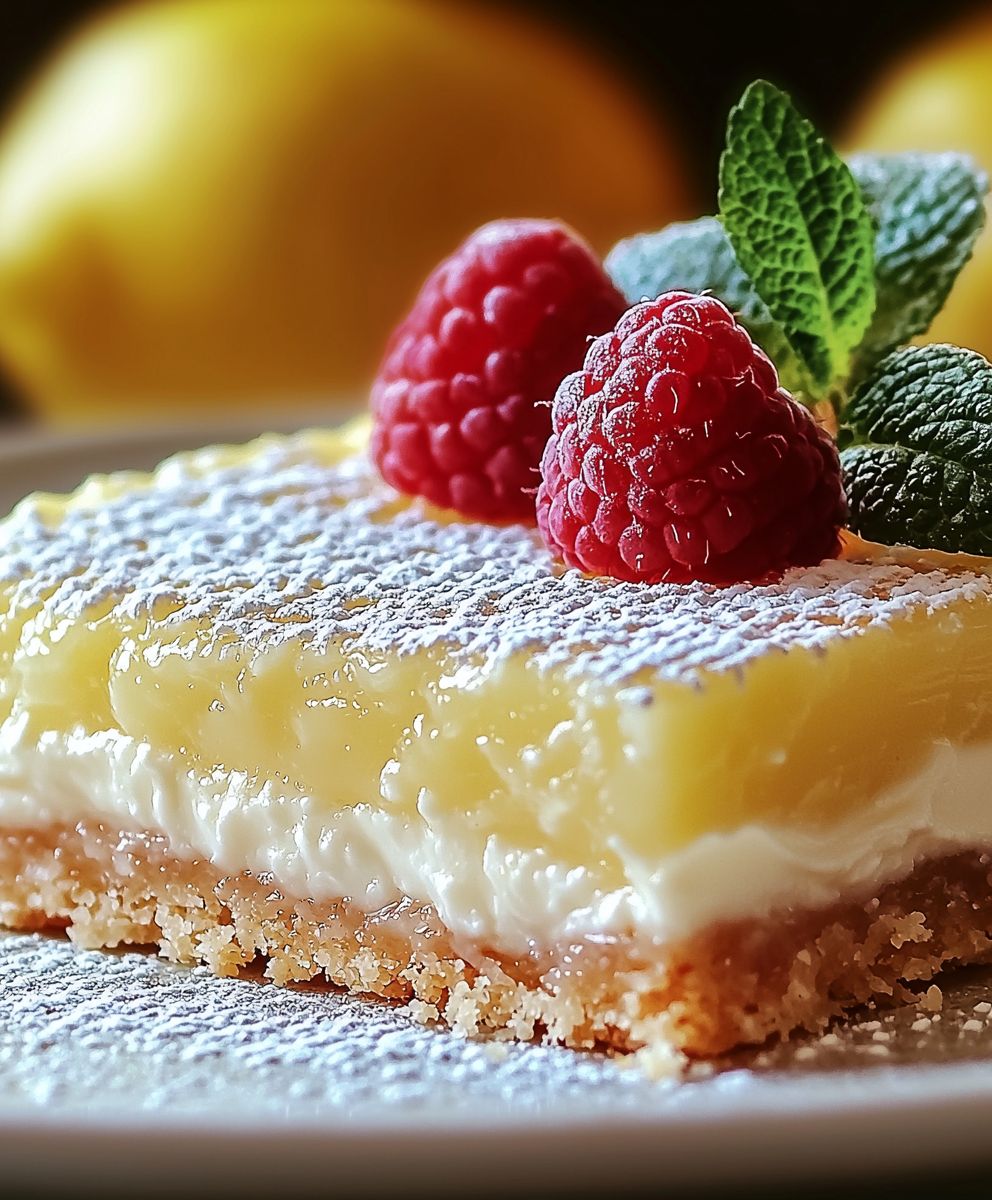
Bright and creamy Lemon Mascarpone Tart with a flaky homemade crust, tangy lemon mascarpone filling, and fresh berries.
- Prep Time: 45 minutes
- Cook Time: 30 minutes
- Total Time: 165 minutes
- Yield: 8 servings 1x
Ingredients
- 1 ½ cups all-purpose flour
- ½ cup (1 stick) unsalted butter, cold and cubed
- ¼ cup granulated sugar
- ¼ teaspoon salt
- 4–6 tablespoons ice water
- 8 ounces mascarpone cheese, softened
- 1 cup heavy cream
- ¾ cup granulated sugar
- ¼ cup fresh lemon juice (from about 2 lemons)
- 2 tablespoons lemon zest (from about 2 lemons)
- 1 teaspoon vanilla extract
- Pinch of salt
- Fresh berries (strawberries, raspberries, blueberries)
- Powdered sugar, for dusting
- Lemon slices, for garnish
Instructions
- Combine Dry Ingredients: In a large bowl, whisk together the flour, sugar, and salt.
- Cut in the Butter: Add the cold, cubed butter to the flour mixture. Using a pastry blender or your fingertips (work quickly), cut the butter into the flour until the mixture resembles coarse crumbs.
- Add Ice Water: Gradually add the ice water, one tablespoon at a time, mixing gently after each addition. Stop adding water when the dough just comes together and is slightly moist but not sticky.
- Form the Dough: Gently gather the dough into a ball. Flatten it into a disc, wrap it tightly in plastic wrap, and refrigerate for at least 30 minutes, or up to 2 hours.
- Roll Out the Dough: On a lightly floured surface, roll out the dough into a 12-inch circle (about 1/8 inch thick).
- Transfer to Tart Pan: Carefully transfer the rolled-out dough to a 9-inch tart pan with a removable bottom. Gently press the dough into the bottom and up the sides of the pan.
- Trim and Crimp the Edges: Trim any excess dough from the edges of the pan. Crimp the edges of the crust using a fork or your fingers to create a decorative border.
- Pre-Bake the Crust: Preheat your oven to 375°F (190°C). Line the crust with parchment paper and fill it with pie weights or dried beans. Bake for 15-20 minutes, or until the edges are lightly golden brown.
- Remove Weights and Bake Further: Remove the parchment paper and pie weights. Return the crust to the oven and bake for another 5-10 minutes, or until the bottom of the crust is golden brown.
- Cool Completely: Let the crust cool completely in the tart pan before adding the filling.
- Soften Mascarpone Cheese: Make sure your mascarpone cheese is softened to room temperature.
- Whip Heavy Cream: In a large bowl, whip the heavy cream until stiff peaks form.
- Combine Mascarpone and Sugar: In a separate bowl, beat the softened mascarpone cheese with the granulated sugar until smooth and creamy.
- Add Lemon Juice, Zest, Vanilla, and Salt: Add the fresh lemon juice, lemon zest, vanilla extract, and salt to the mascarpone mixture. Mix until well combined.
- Fold in Whipped Cream: Gently fold the whipped cream into the mascarpone mixture until just combined.
- Pour Filling into Crust: Pour the lemon mascarpone filling into the cooled tart crust. Spread the filling evenly to create a smooth surface.
- Chill the Tart: Cover the tart with plastic wrap and refrigerate for at least 2 hours, or preferably overnight.
- Garnish (Optional): Before serving, garnish the tart with fresh berries, a dusting of powdered sugar, and lemon slices, if desired.
- Slice and Serve: Carefully remove the tart from the tart pan by lifting it from the bottom. Slice the tart into wedges and serve immediately.
Notes
- Use cold ingredients for the crust.
- Don’t overwork the dough.
- Pre-bake the crust to prevent a soggy bottom.
- Use fresh lemon juice and zest for the best flavor.
- Chilling the tart is essential for the filling to set.


Leave a Comment