
Saumon Gravlax Sugar: Prepare to embark on a culinary adventure that will tantalize your taste buds and transport you to the Nordic shores! Have you ever dreamt of creating a dish that’s both elegant and surprisingly simple to make at home? Look no further! This cured salmon delicacy is easier than you think, and the results are absolutely divine.
Gravlax, meaning “buried salmon,” boasts a rich history dating back to the Middle Ages. Scandinavian fishermen would preserve their catch by burying it in the sand, covered in salt and spices. This ingenious method not only preserved the salmon but also imparted a unique and unforgettable flavor. While we’ve modernized the process, the essence remains the same: fresh salmon transformed into a culinary masterpiece.
People adore gravlax for its exquisite taste and luxurious texture. The curing process, which includes a generous amount of saumon gravlax sugar, draws out moisture, resulting in a firm, almost silky texture that melts in your mouth. The combination of salt, sugar, dill, and other aromatics creates a symphony of flavors a delicate balance of sweet, savory, and herbaceous notes that perfectly complements the richness of the salmon. It’s a dish that elevates any occasion, from brunch gatherings to sophisticated dinner parties. Plus, the fact that you can prepare it ahead of time makes it incredibly convenient for entertaining. So, are you ready to learn how to make your own saumon gravlax sugar cured salmon? Let’s get started!

Ingredients:
- 1.5 lbs Salmon fillet, skin on, pin bones removed
- 1 cup Coarse sea salt
- 1 cup Granulated sugar
- 1/2 cup Fresh dill, roughly chopped
- 2 tablespoons Black peppercorns, coarsely crushed
- 1 Lemon, zest only
- 2 tablespoons Vodka or Aquavit (optional, but recommended)
Preparing the Gravlax Cure:
Alright, let’s get started! The key to amazing gravlax is the cure. It’s what draws out the moisture and infuses the salmon with all those wonderful flavors. Don’t be intimidated by the amount of salt and sugar it’s necessary for the curing process, and you won’t end up with overly salty or sweet salmon.
- Combine the Dry Ingredients: In a large bowl, whisk together the sea salt, granulated sugar, crushed black peppercorns, and lemon zest. Make sure everything is evenly distributed. This mixture is the foundation of our cure, so we want it to be perfect.
- Add the Dill: Now, gently fold in the chopped fresh dill. The dill adds a beautiful herbaceousness that complements the richness of the salmon. Don’t overmix, just ensure it’s evenly incorporated.
- Incorporate the Alcohol (Optional): If you’re using vodka or aquavit, drizzle it over the salt mixture. The alcohol helps to distribute the flavors and also acts as a preservative. Mix well to ensure the alcohol is evenly absorbed.
Curing the Salmon:
Now comes the fun part applying the cure to the salmon! This is where the magic happens. We’ll be layering the cure around the salmon, ensuring every part is in contact with the mixture. This process will draw out moisture and transform the salmon into gravlax.
- Prepare the Salmon: Pat the salmon fillet dry with paper towels. This is important because we want the cure to adhere properly. Check again for any remaining pin bones and remove them with tweezers or pliers.
- Layer the Cure: On a large piece of plastic wrap (at least twice the size of the salmon fillet), spread half of the salt mixture in an even layer. This will be the base for our salmon.
- Place the Salmon: Place the salmon fillet, skin-side down, on top of the salt mixture.
- Cover with Remaining Cure: Spread the remaining salt mixture evenly over the top of the salmon fillet, ensuring it’s completely covered. Don’t be shy you want a generous layer of the cure.
- Wrap Tightly: Wrap the salmon tightly in the plastic wrap, pressing down gently to ensure the cure is in good contact with the fish. Then, wrap it again with another layer of plastic wrap. This creates a tight seal that helps with the curing process.
- Weight the Salmon: Place the wrapped salmon in a baking dish or on a plate. Place a flat object on top of the salmon (like a cutting board or another plate) and weigh it down with cans, weights, or anything heavy you have on hand. This pressure helps to draw out the moisture and firm up the salmon.
- Refrigerate: Refrigerate the weighted salmon for 48-72 hours. The longer it cures, the firmer and saltier it will become. I usually go for 60 hours for a good balance of flavor and texture.
Checking and Adjusting the Cure (Important!):
This step is crucial! After the initial curing period, it’s important to check the salmon and adjust the curing time if needed. This ensures that the gravlax is cured to your liking.
- Check the Salmon: After 48 hours, unwrap the salmon and check its firmness. It should feel firm to the touch, but not rock hard. If it still feels soft, re-wrap it and continue curing for another 12-24 hours.
- Adjust Curing Time: The curing time depends on the thickness of the salmon fillet and your personal preference. Thicker fillets will require longer curing times. If you prefer a saltier gravlax, cure it for longer. If you prefer a milder flavor, cure it for a shorter time.
- The “Finger Test”: A good way to check is the “finger test”. Gently press on the salmon. If it springs back quickly, it’s likely ready. If it leaves a deep indentation, it needs more time.
Rinsing and Drying:
Once the salmon is cured to your liking, it’s time to rinse off the cure and dry the fillet. This step removes the excess salt and sugar and prepares the gravlax for slicing.
- Rinse the Salmon: Remove the salmon from the plastic wrap and rinse it thoroughly under cold running water. Make sure to remove all traces of the salt mixture and dill.
- Dry the Salmon: Pat the salmon dry with paper towels. It should be completely dry before slicing.
- Optional: At this point, you can brush the salmon with a little bit of vodka or aquavit for added flavor and preservation.
Slicing and Serving:
Now for the best part slicing and enjoying your homemade gravlax! The key to beautiful slices is a sharp knife and a gentle touch. Serve it with your favorite accompaniments for a truly delicious experience.
- Use a Sharp Knife: Use a very sharp, long knife (a slicing knife or a sushi knife works well).
- Slice Thinly: Slice the salmon thinly at a 45-degree angle, starting from the tail end and working towards the head. This will give you those beautiful, long slices of gravlax.
- Remove the Skin (Optional): You can either slice the gravlax with the skin on or remove it after slicing. Some people prefer the taste of the skin, while others find it too strong.
- Serve Immediately: Serve the gravlax immediately or store it in an airtight container in the refrigerator for up to 3 days.
Serving Suggestions:
Gravlax is incredibly versatile and can be enjoyed in so many ways! Here are a few of my favorite serving suggestions:
- On Rye Bread: Serve thin slices of gravlax on dark rye bread with a dollop of crème fraîche or sour cream and a sprinkle of fresh dill.
- With Mustard Sauce: A classic pairing! Serve gravlax with a traditional Swedish mustard sauce (hovmästarsås).
- In Salads: Add gravlax to salads for a burst of flavor and protein. It pairs well with greens, cucumbers, and tomatoes.
- On Bagels: Use gravlax as a topping for bagels with cream cheese, capers, and red onion.
- As an Appetizer: Serve gravlax as an appetizer with crackers, crostini, or cucumber slices.
- With Potatoes: Serve gravlax with boiled potatoes and a creamy dill sauce.
Mustard Sauce (Hovmästarsås) Recipe:
No gravlax experience is complete without a proper mustard sauce! This recipe is a classic and incredibly easy to make.
Ingredients for Mustard Sauce:
- 2 tablespoons Dijon mustard
- 1 tablespoon Swedish mustard (or another coarse mustard)
- 1 tablespoon White wine vinegar
- 1 tablespoon Granulated sugar
- 1/4 cup Vegetable oil
- 2 tablespoons Fresh dill, finely chopped
- Salt and pepper to taste
Instructions for Mustard Sauce:
- Whisk Together Mustards and Vinegar: In a small bowl, whisk together the Dijon mustard, Swedish mustard, white wine vinegar, and sugar until well combined.
- Slowly Add Oil: Gradually drizzle in the vegetable oil while whisking constantly. This will emulsify the sauce and create a creamy texture.
- Stir in Dill: Stir in the finely chopped fresh dill.
- Season to Taste: Season with salt and pepper to taste.
- Refrigerate: Refrigerate the sauce for at least 30 minutes before serving to allow the flavors to meld.
Tips and Tricks for Perfect Gravlax:
Here are a few extra tips and tricks to ensure your gravlax turns out perfectly every time:
- Use High-Quality Salmon: The quality of the salmon is crucial for the final result. Choose a fresh, high-quality salmon fillet with a vibrant color and firm texture.
- Remove Pin Bones Carefully: Make sure to remove all pin bones from the
Conclusion:
And there you have it! Our simple yet elegant Saumon Gravlax recipe is truly a must-try for anyone looking to impress with minimal effort. The delicate balance of salt, sugar, and dill transforms ordinary salmon into a culinary masterpiece. I promise, once you taste the silky texture and the subtle, complex flavors, you’ll be hooked! It’s a dish that elevates any occasion, from a casual brunch to a sophisticated dinner party.
But why is this Saumon Gravlax so special? It’s more than just cured salmon; it’s an experience. The curing process not only preserves the fish but also enhances its natural flavors, creating a depth that you simply can’t achieve with other preparations. Plus, the active time is minimal, allowing you to focus on other aspects of your meal or simply relax and enjoy the anticipation.
Now, let’s talk about serving suggestions. The possibilities are endless! I personally love serving it thinly sliced on toasted rye bread with a dollop of crème fraîche and a sprinkle of fresh dill. It’s also fantastic on bagels with cream cheese and capers for a classic brunch treat. For a more elegant presentation, try serving it as part of a charcuterie board with assorted cheeses, crackers, and olives.
Looking for variations? Feel free to experiment with different herbs and spices. A touch of lemon zest adds a bright, citrusy note, while a pinch of pink peppercorns provides a subtle warmth and visual appeal. You could even try adding a splash of aquavit or gin to the curing mixture for an extra layer of flavor. If you’re feeling adventurous, consider incorporating beetroot for a vibrant color and earthy sweetness. Just remember to adjust the curing time accordingly, as some ingredients may affect the process.
Another great variation is to add a touch of horseradish to the curing mixture. This will give your gravlax a nice kick and make it perfect for serving with potato pancakes or blinis. You can also experiment with different types of sugar, such as brown sugar or maple sugar, for a richer, more complex flavor.
Don’t be intimidated by the curing process. It’s much simpler than it sounds, and the results are well worth the effort. Just be sure to use the freshest salmon you can find and follow the instructions carefully. And remember, patience is key! The longer the salmon cures, the more intense the flavors will become.
I truly believe that this recipe is a game-changer. It’s a simple, elegant, and incredibly delicious way to enjoy salmon. It’s also a fantastic way to impress your friends and family without spending hours in the kitchen.
So, what are you waiting for? Grab some fresh salmon and give this recipe a try! I’m confident that you’ll love it as much as I do. And please, don’t forget to share your experience with me! I’d love to hear about your variations, your serving suggestions, and your overall thoughts on this Saumon Gravlax. You can leave a comment below, tag me on social media, or even send me an email. I’m always eager to hear from fellow food enthusiasts. Happy curing! I can’t wait to see what culinary creations you come up with! Let me know if you have any questions along the way, I’m here to help!
Saumon Gravlax Sugar: The Ultimate Guide to Making It at Home
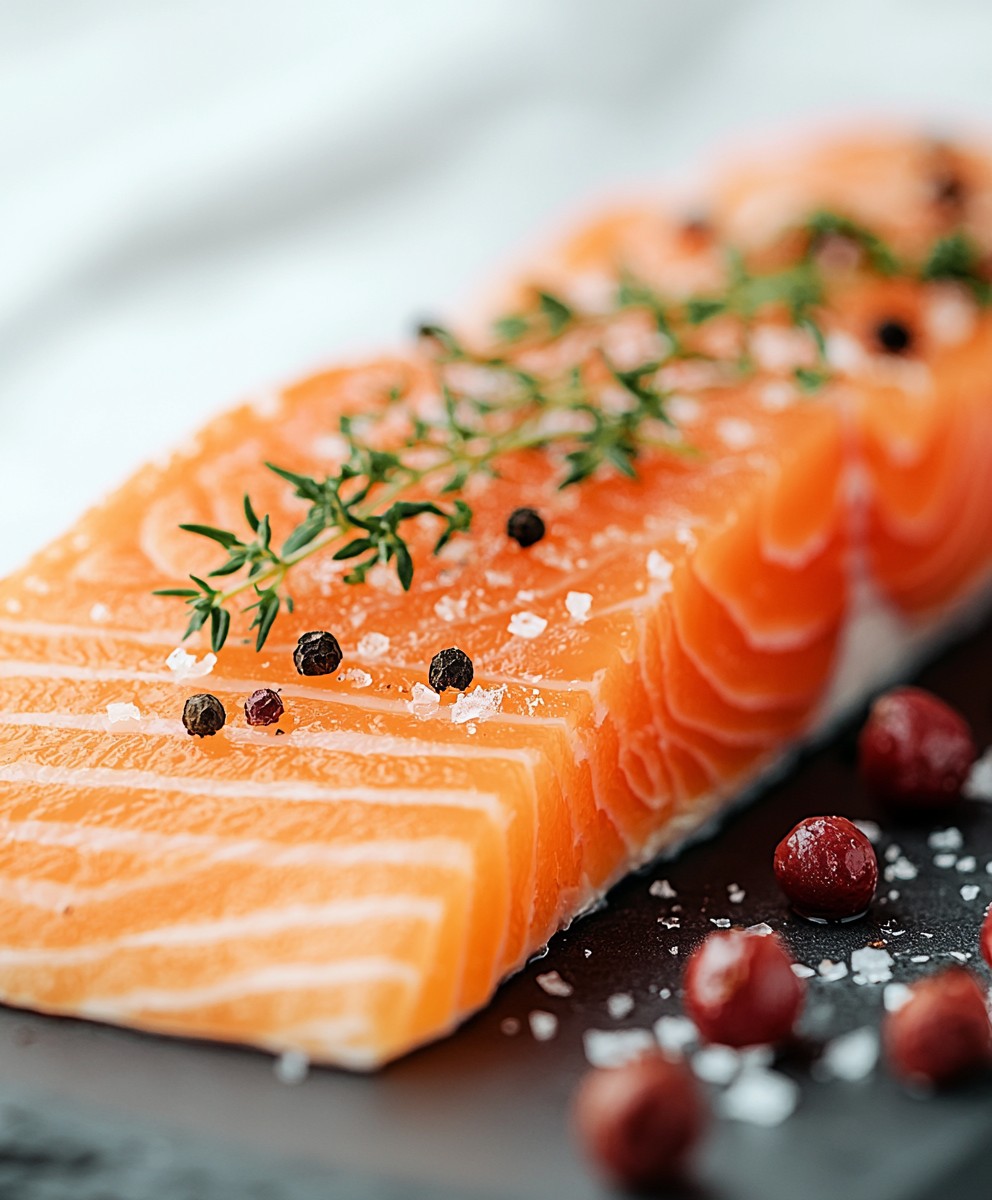
Cured salmon with dill, salt, sugar, and spices. A Scandinavian delicacy perfect for appetizers, bagels, or salads.
Ingredients
- 1.5 lbs Salmon fillet, skin on, pin bones removed
- 1 cup Coarse sea salt
- 1 cup Granulated sugar
- 1/2 cup Fresh dill, roughly chopped
- 2 tablespoons Black peppercorns, coarsely crushed
- 1 Lemon, zest only
- 2 tablespoons Vodka or Aquavit (optional, but recommended)
Instructions
- Combine Dry Ingredients: In a large bowl, whisk together sea salt, granulated sugar, crushed black peppercorns, and lemon zest.
- Add Dill: Gently fold in chopped fresh dill.
- Incorporate Alcohol (Optional): Drizzle vodka or aquavit over the salt mixture. Mix well.
- Prepare the Salmon: Pat the salmon fillet dry with paper towels. Check again for any remaining pin bones and remove them with tweezers or pliers.
- Layer the Cure: On a large piece of plastic wrap, spread half of the salt mixture in an even layer.
- Place the Salmon: Place the salmon fillet, skin-side down, on top of the salt mixture.
- Cover with Remaining Cure: Spread the remaining salt mixture evenly over the top of the salmon fillet, ensuring it’s completely covered.
- Wrap Tightly: Wrap the salmon tightly in plastic wrap, pressing down gently. Wrap it again with another layer of plastic wrap.
- Weight the Salmon: Place the wrapped salmon in a baking dish or on a plate. Place a flat object on top of the salmon (like a cutting board or another plate) and weigh it down with cans, weights, or anything heavy you have on hand.
- Refrigerate: Refrigerate the weighted salmon for 48-72 hours.
- Check the Salmon: After 48 hours, unwrap the salmon and check its firmness. It should feel firm to the touch, but not rock hard. If it still feels soft, re-wrap it and continue curing for another 12-24 hours.
- Rinse the Salmon: Remove the salmon from the plastic wrap and rinse it thoroughly under cold running water. Make sure to remove all traces of the salt mixture and dill.
- Dry the Salmon: Pat the salmon dry with paper towels. It should be completely dry before slicing.
- Optional: At this point, you can brush the salmon with a little bit of vodka or aquavit for added flavor and preservation.
- Slice Thinly: Slice the salmon thinly at a 45-degree angle, starting from the tail end and working towards the head.
- Remove the Skin (Optional): You can either slice the gravlax with the skin on or remove it after slicing. Some people prefer the taste of the skin, while others find it too strong.
- Serve Immediately: Serve the gravlax immediately or store it in an airtight container in the refrigerator for up to 3 days.
Notes
- The curing time depends on the thickness of the salmon fillet and your personal preference. Thicker fillets will require longer curing times. If you prefer a saltier gravlax, cure it for longer. If you prefer a milder flavor, cure it for a shorter time.
- A good way to check is the “finger test”. Gently press on the salmon. If it springs back quickly, it’s likely ready. If it leaves a deep indentation, it needs more time.
- Use high-quality salmon for the best results.
- Serve with rye bread, mustard sauce, or in salads.


Leave a Comment